No-Code Email Design: Effortless Template Creation in a Figma Plugin
Most designers, regardless of their area of expertise, use Figma as their primary tool. However, when tasked with creating a ready-to-use email template, this can prove challenging and time-consuming.
Pixcraft offers a solution to this problem: a user-friendly plugin for Figma that enables you to create an email template and generate ready-to-use HTML code in just a few minutes. In this article, we’ll explore how the Pixcraft Email Generator can help you quickly design your email template, customize its unique structure, and add multimedia content.
Creating a Ready-to-Use Template in Minutes
To get started, open a new file in Figma and locate the Pixcraft Email Generator in the Actions menu on the toolbar. Launch the plugin:
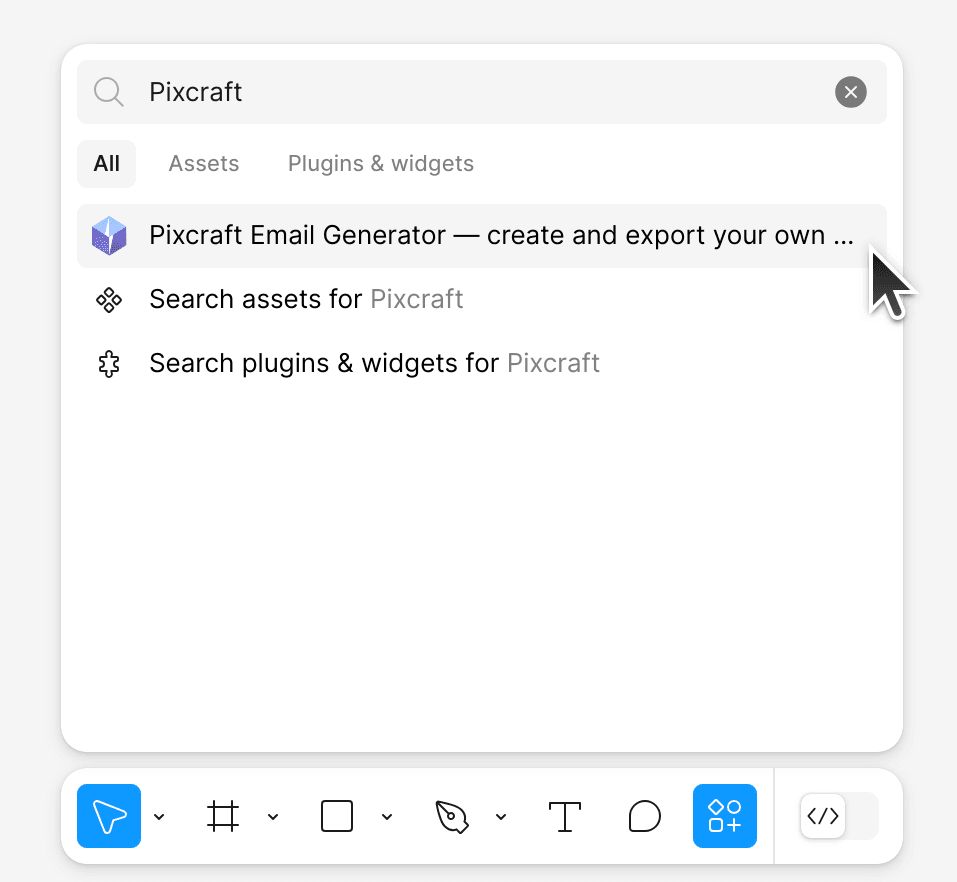 Pixcraft Email Generator Plugin
When the plugin opens, you’ll be offered a quick usage guide, which you can skip if desired. To create a new template, go to the New tab and select Blank email.
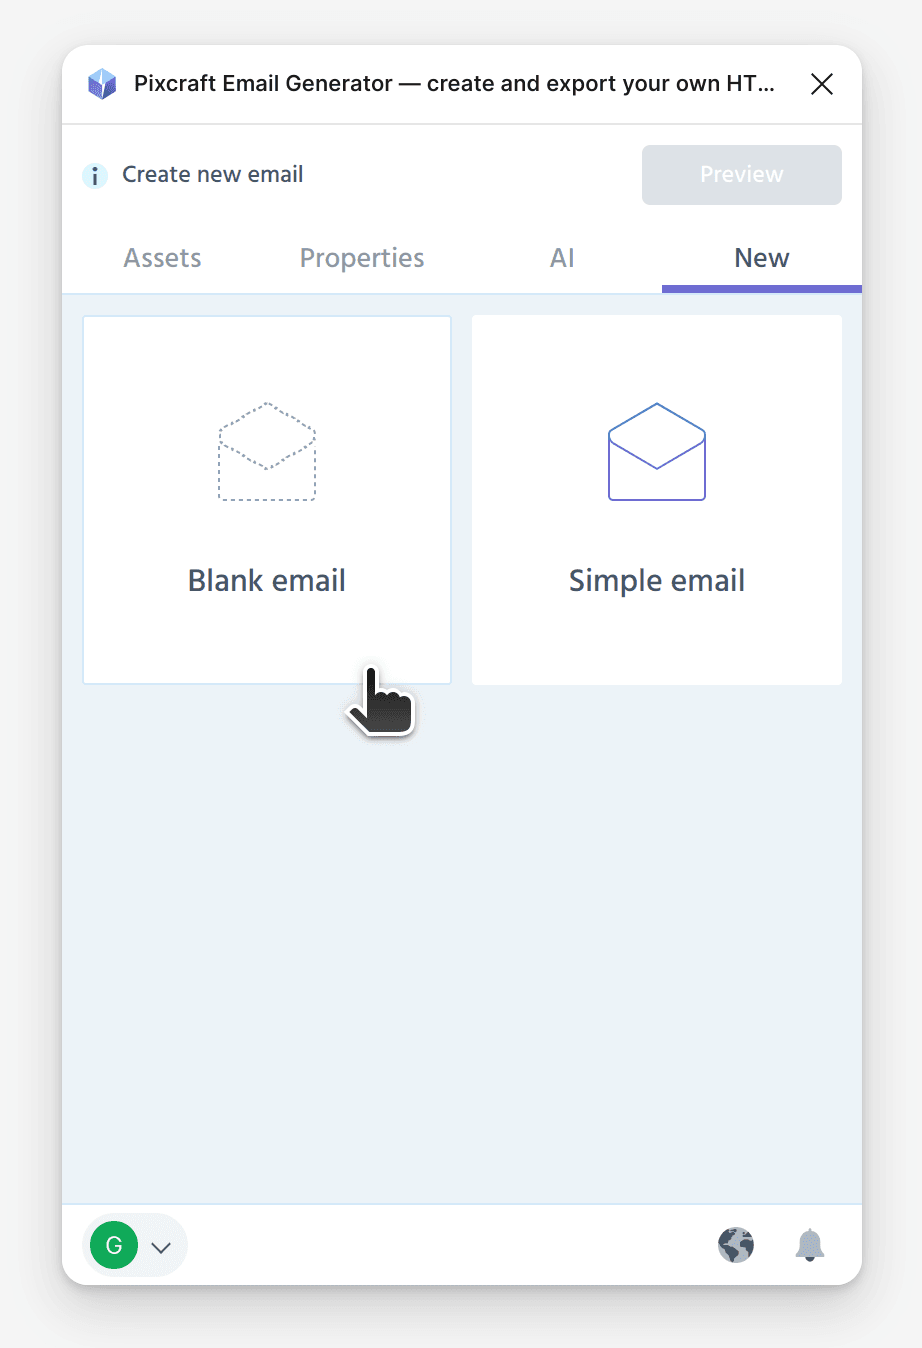 Creating a new email
A blank email template will appear. Populate it with elements from the Assets tab, where elements are organized into the following categories:
Blocks: Content sections, such as news blocks, banners, and more.
Headers: The email header or "top section."
Images: Images used in the email.
Texts: Text blocks of any kind.
Buttons: Call-to-action buttons encouraging user engagement.
Footers: The bottom section of the email.
AMP: Interactive elements like feedback forms and image carousels, as well as their HTML versions.
Dividers: Separators for different sections of the email.
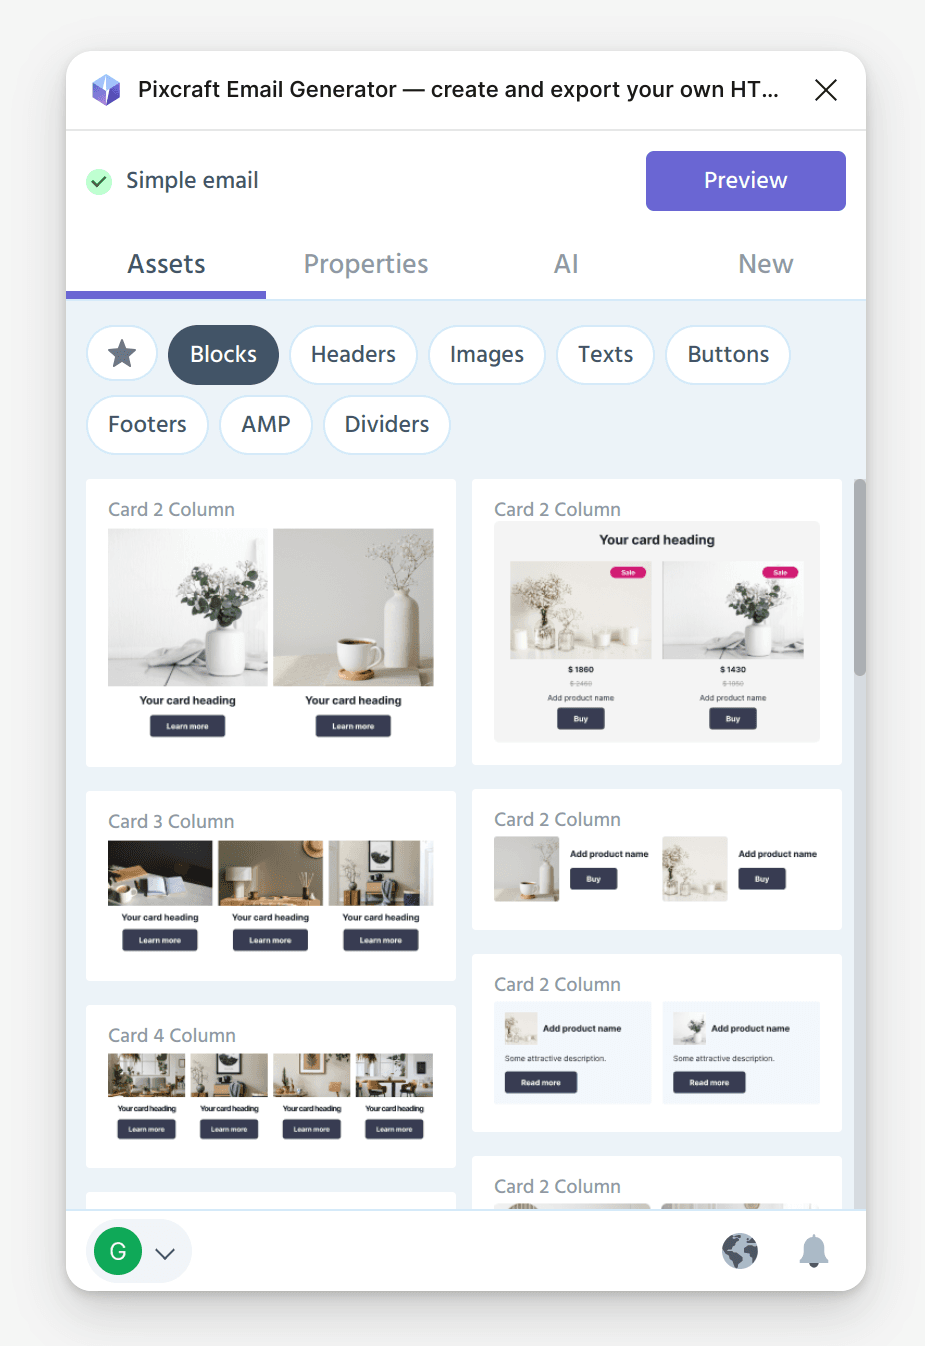 Assets
For a basic email, you’ll need a header, one content block, one text block, and a footer. To add any of these, simply click the desired element in the plugin menu, and it will automatically appear in the template body:
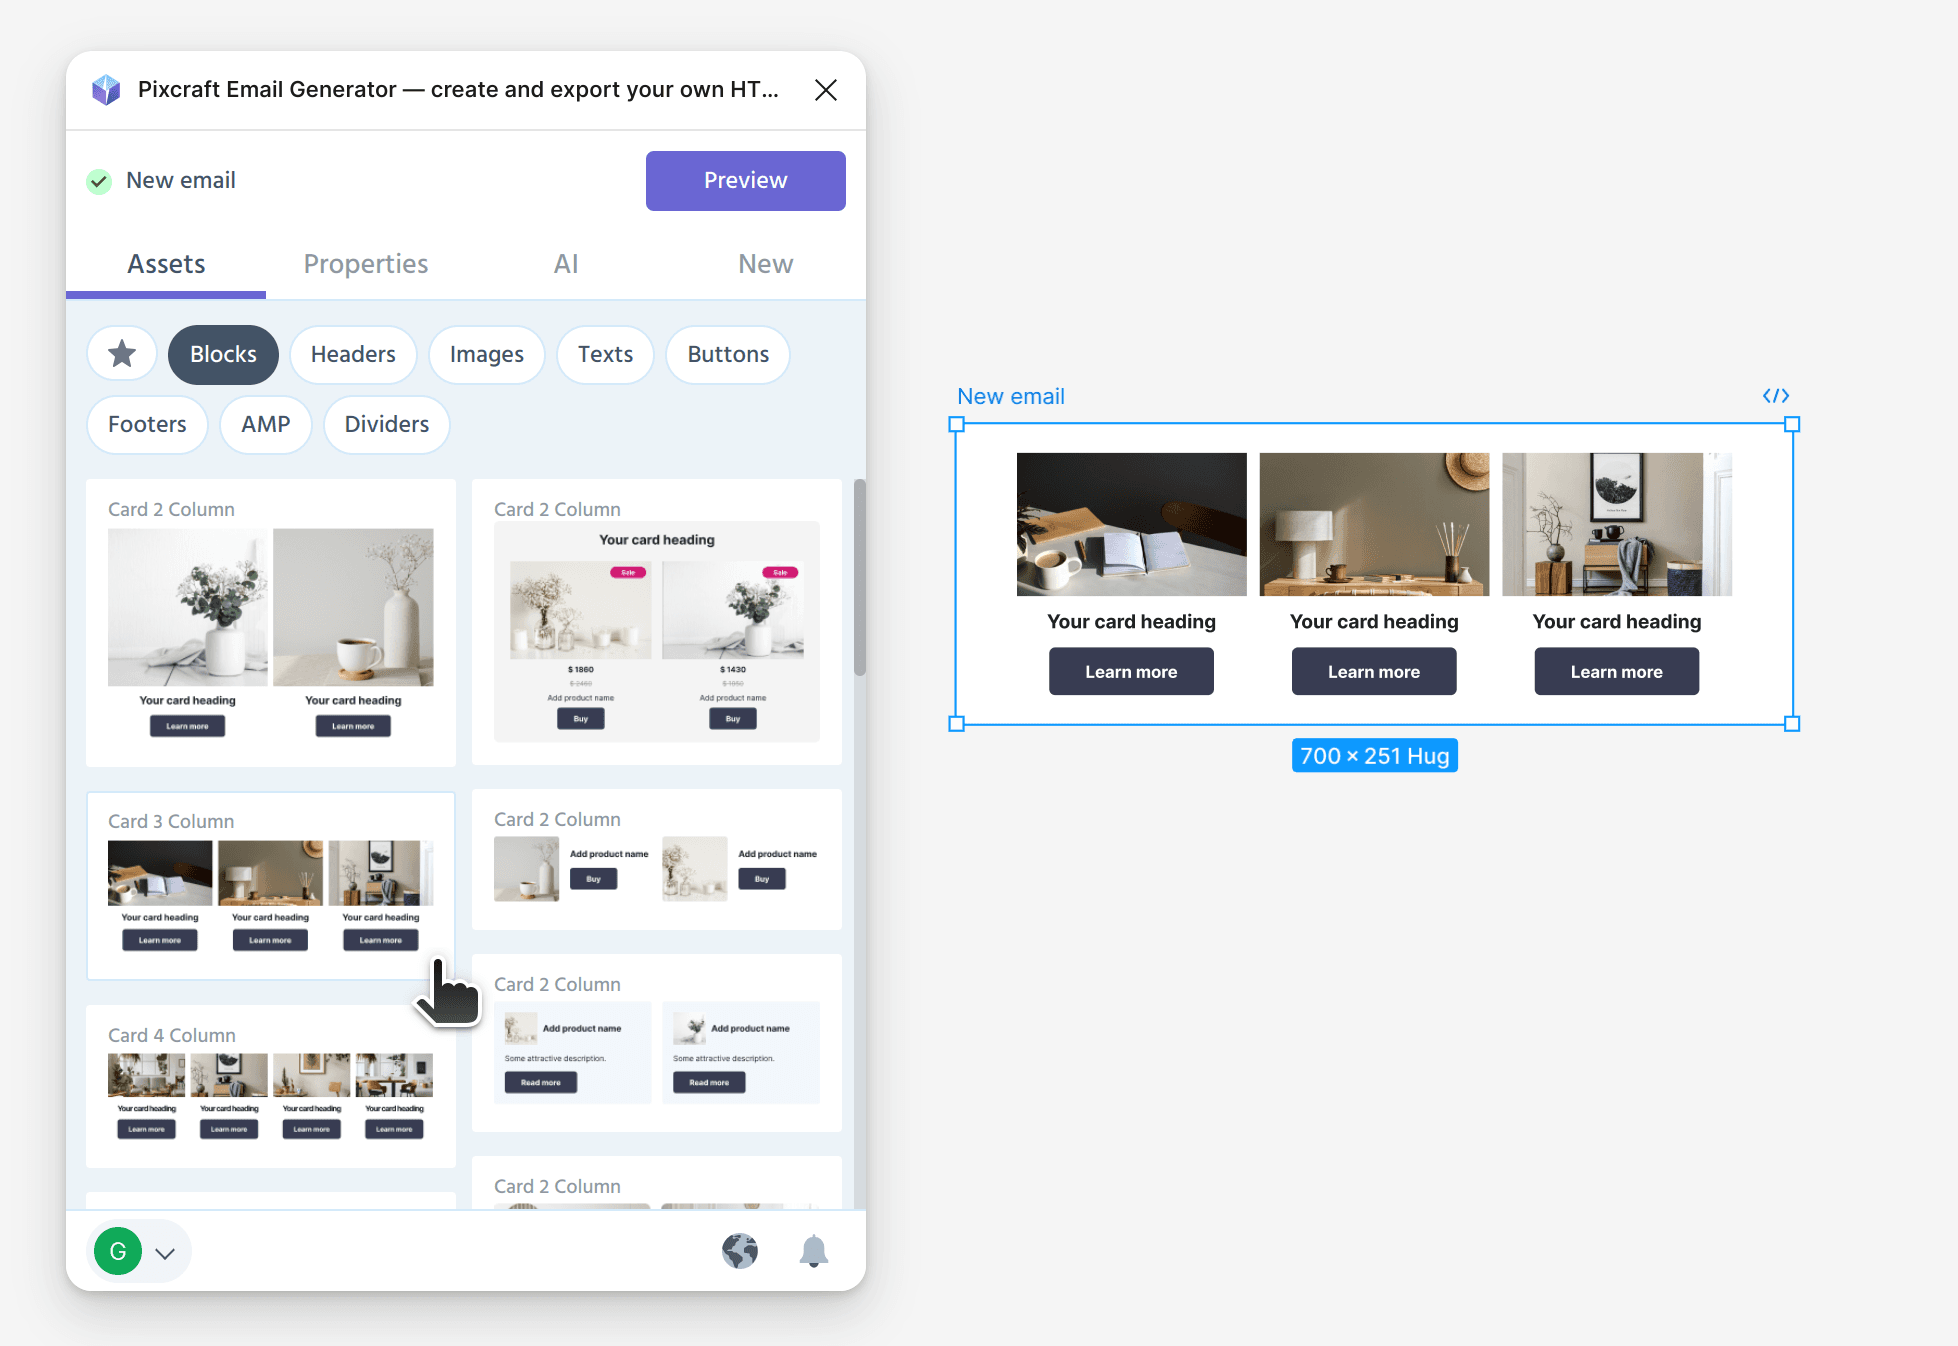 Adding a new element
In the generated template, all that’s left is to replace the placeholder text and images with your own.
Once your template is ready, switch to preview mode by selecting the main template frame and clicking Preview. A testing window will open, displaying how your email will look to recipients.
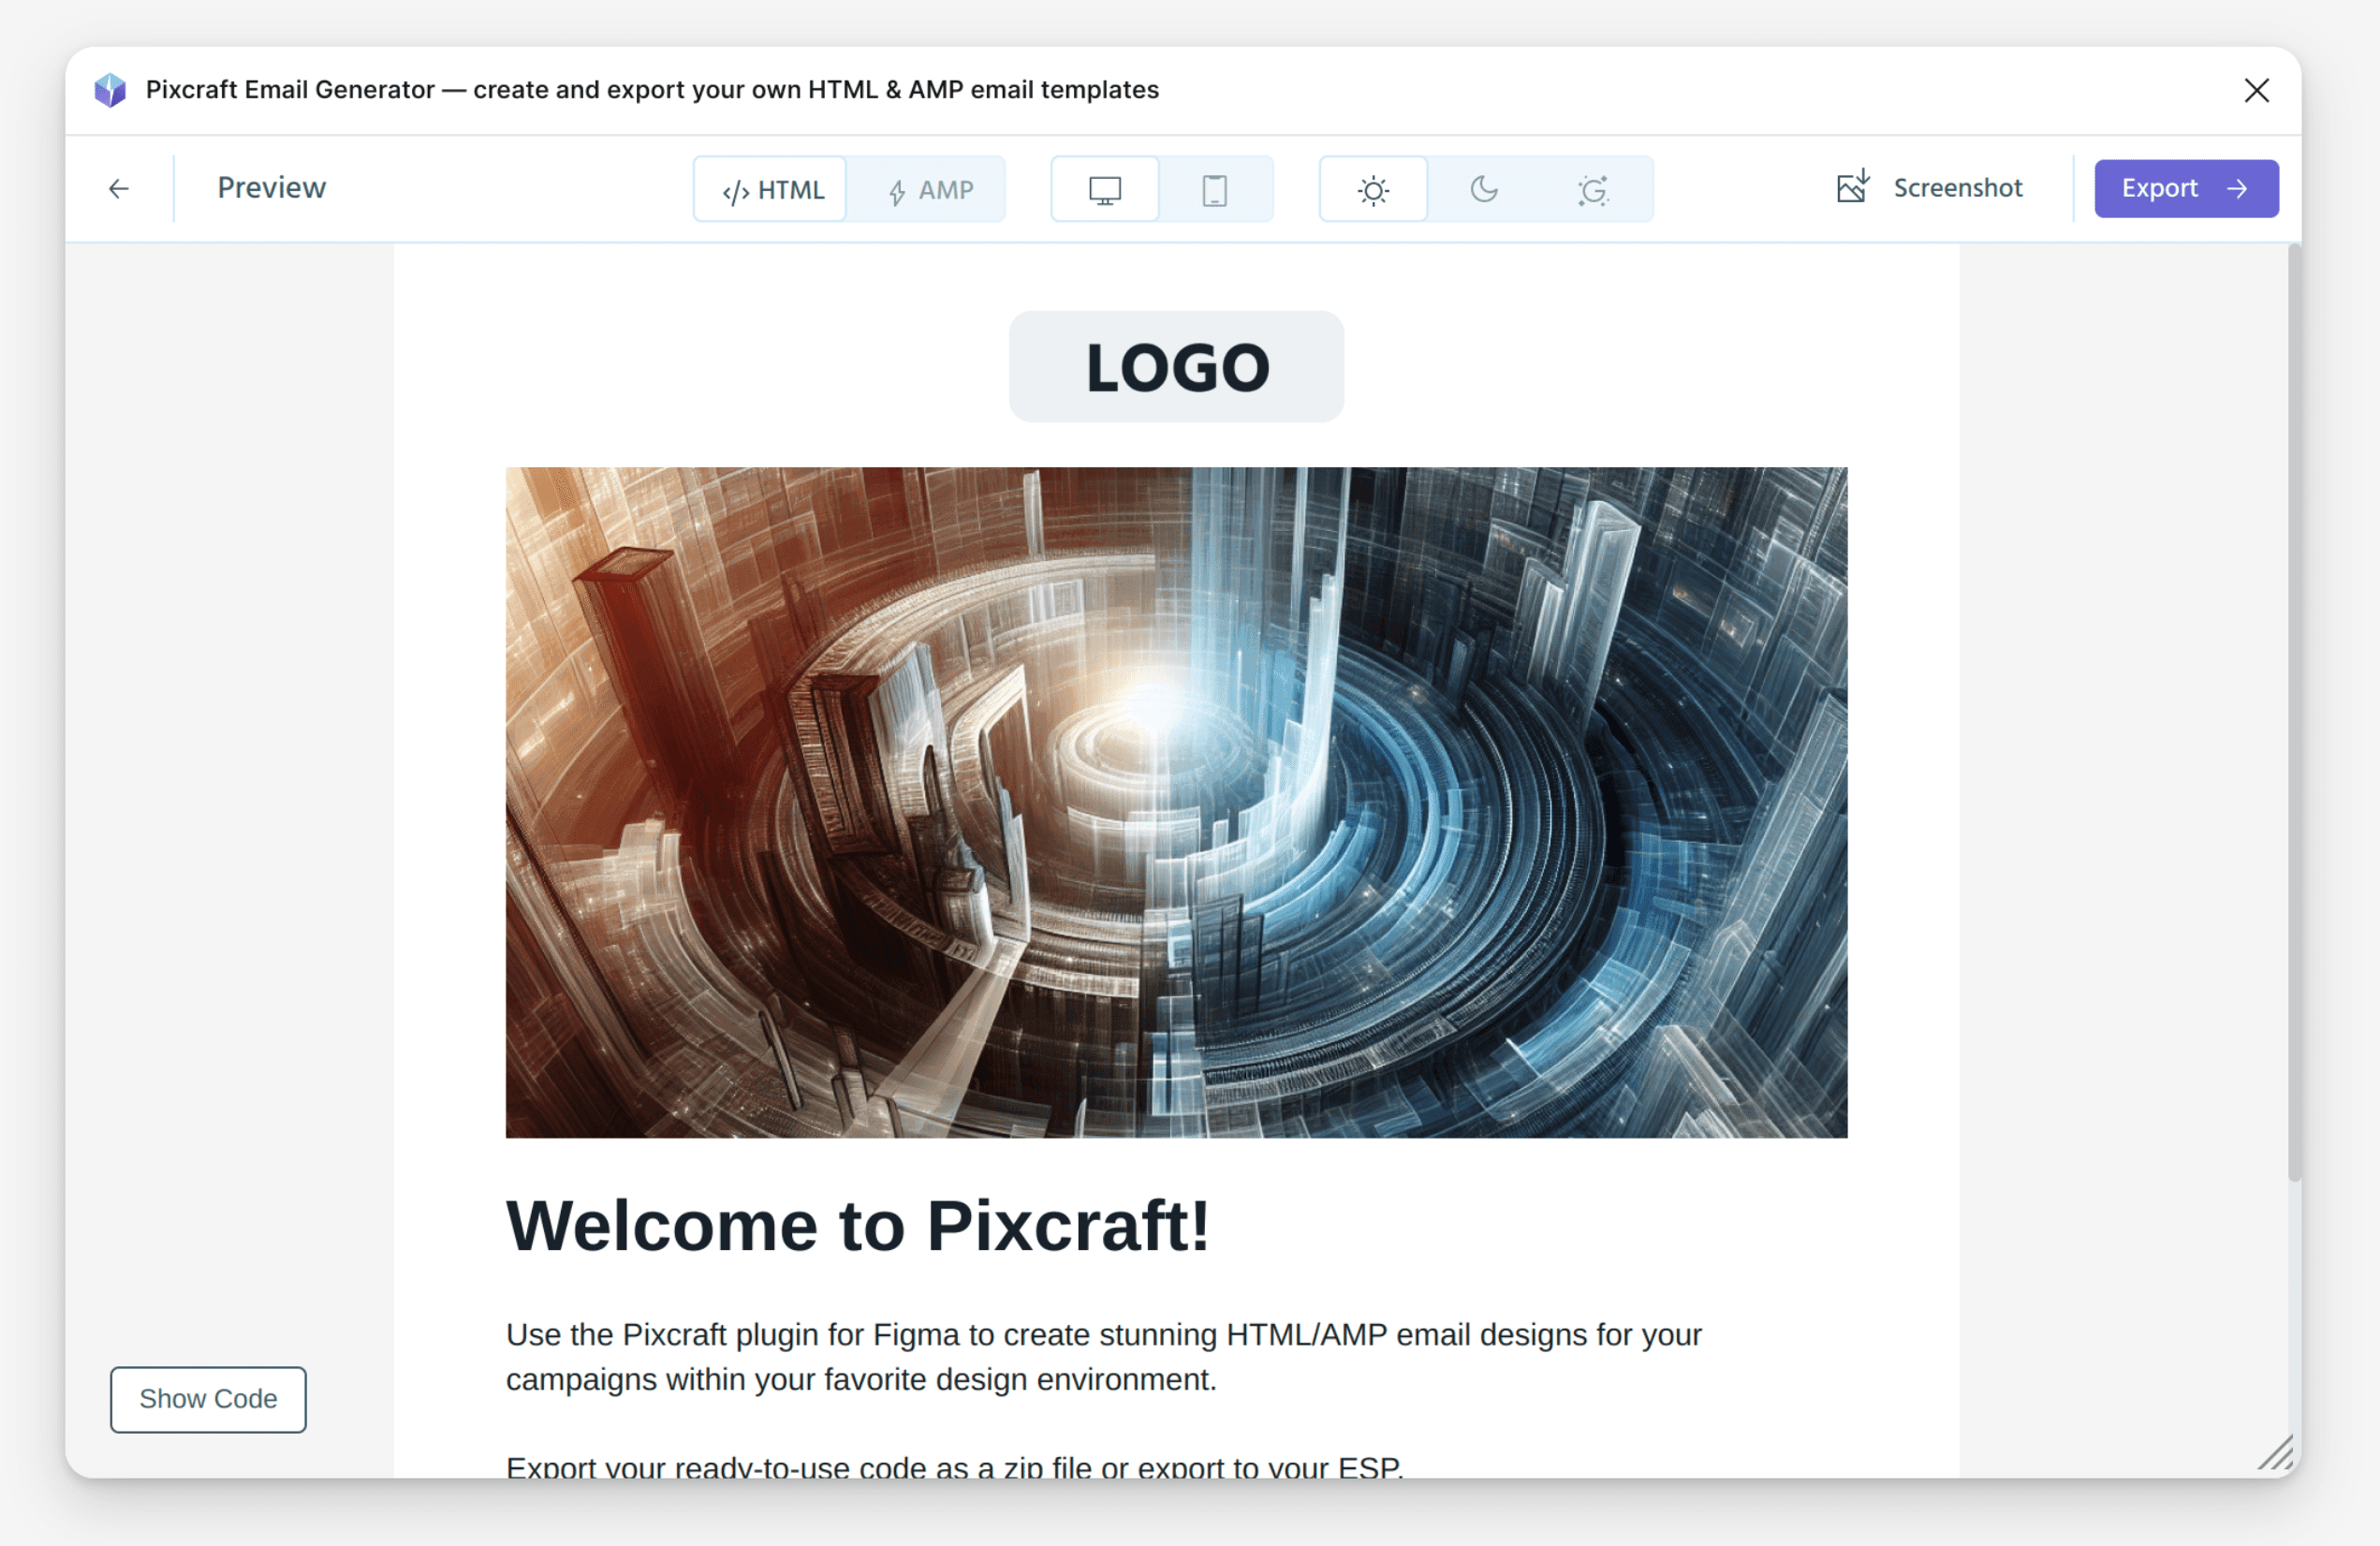 Preview mode
In the preview window, you can:
- Switch between HTML and AMP versions of the email.
- Toggle between desktop and mobile views.
- Test the email in dark mode, as most mobile email clients automatically adapt emails to dark themes. This includes a full color inversion simulation, commonly used in Gmail for iOS.
- Use the Screenshot button to capture the email content and share it, for example, with a client.
- View the email's code on the Show Code tab, check its size, and compress it if needed.
If you’re satisfied with the final result, proceed to export the template by clicking the corresponding button at the top of the window.
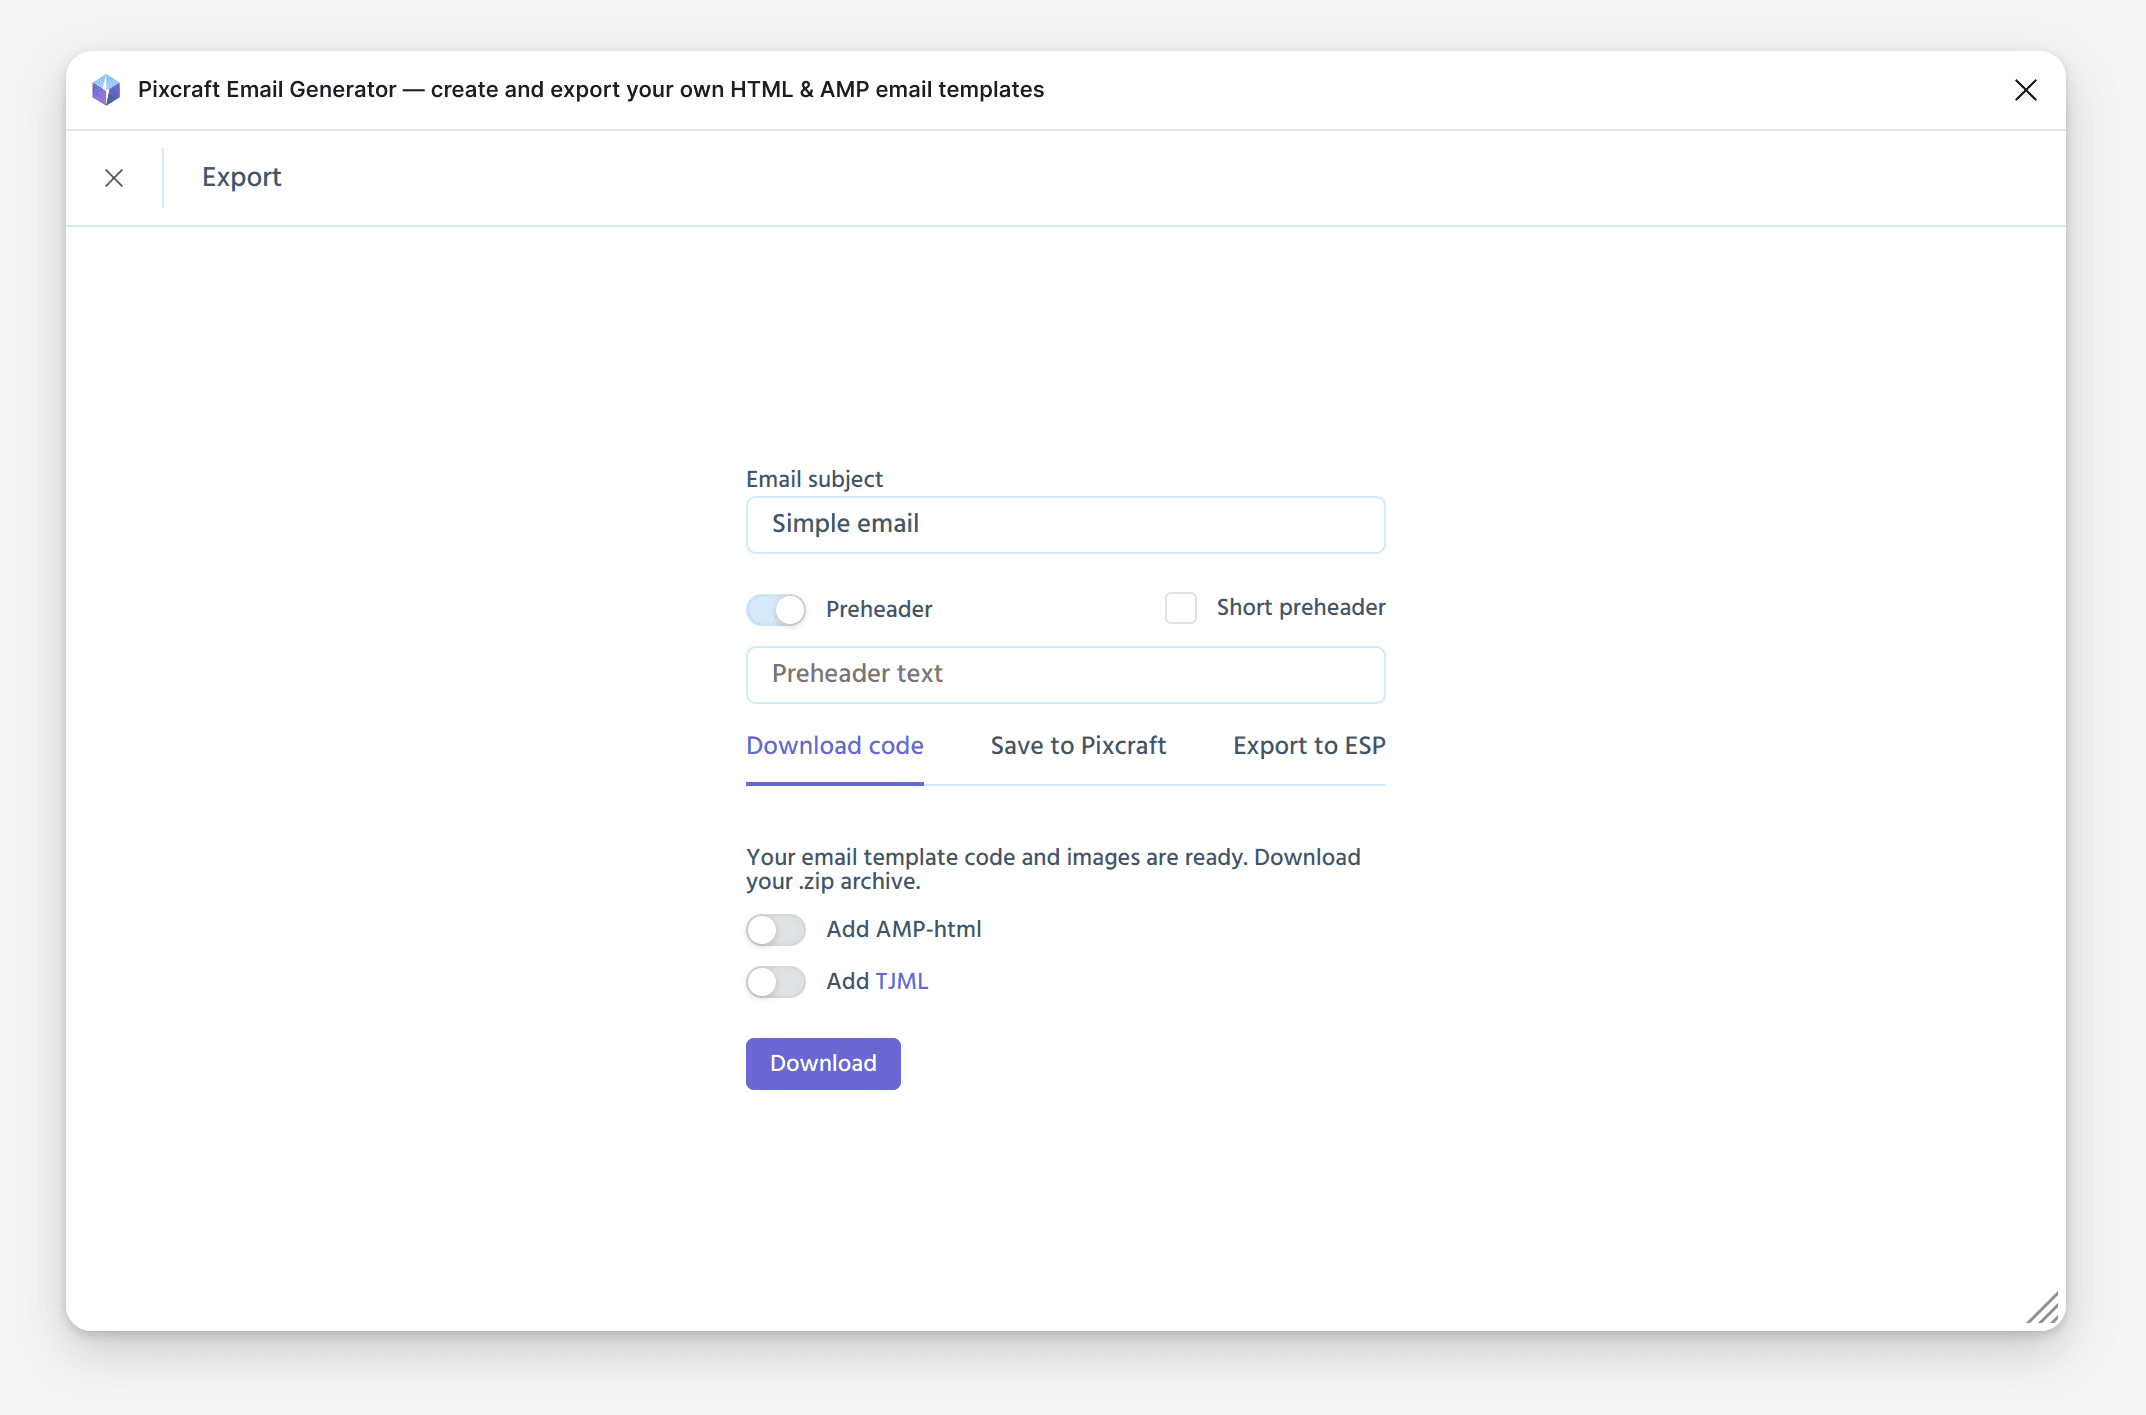 Template export
You can optionally add a subject line and preheader to your template. The plugin offers multiple export options, including saving as a zip archive with code and images, saving to your Pixcraft account, or exporting directly to email marketing platforms, such as Altcraft Platform:
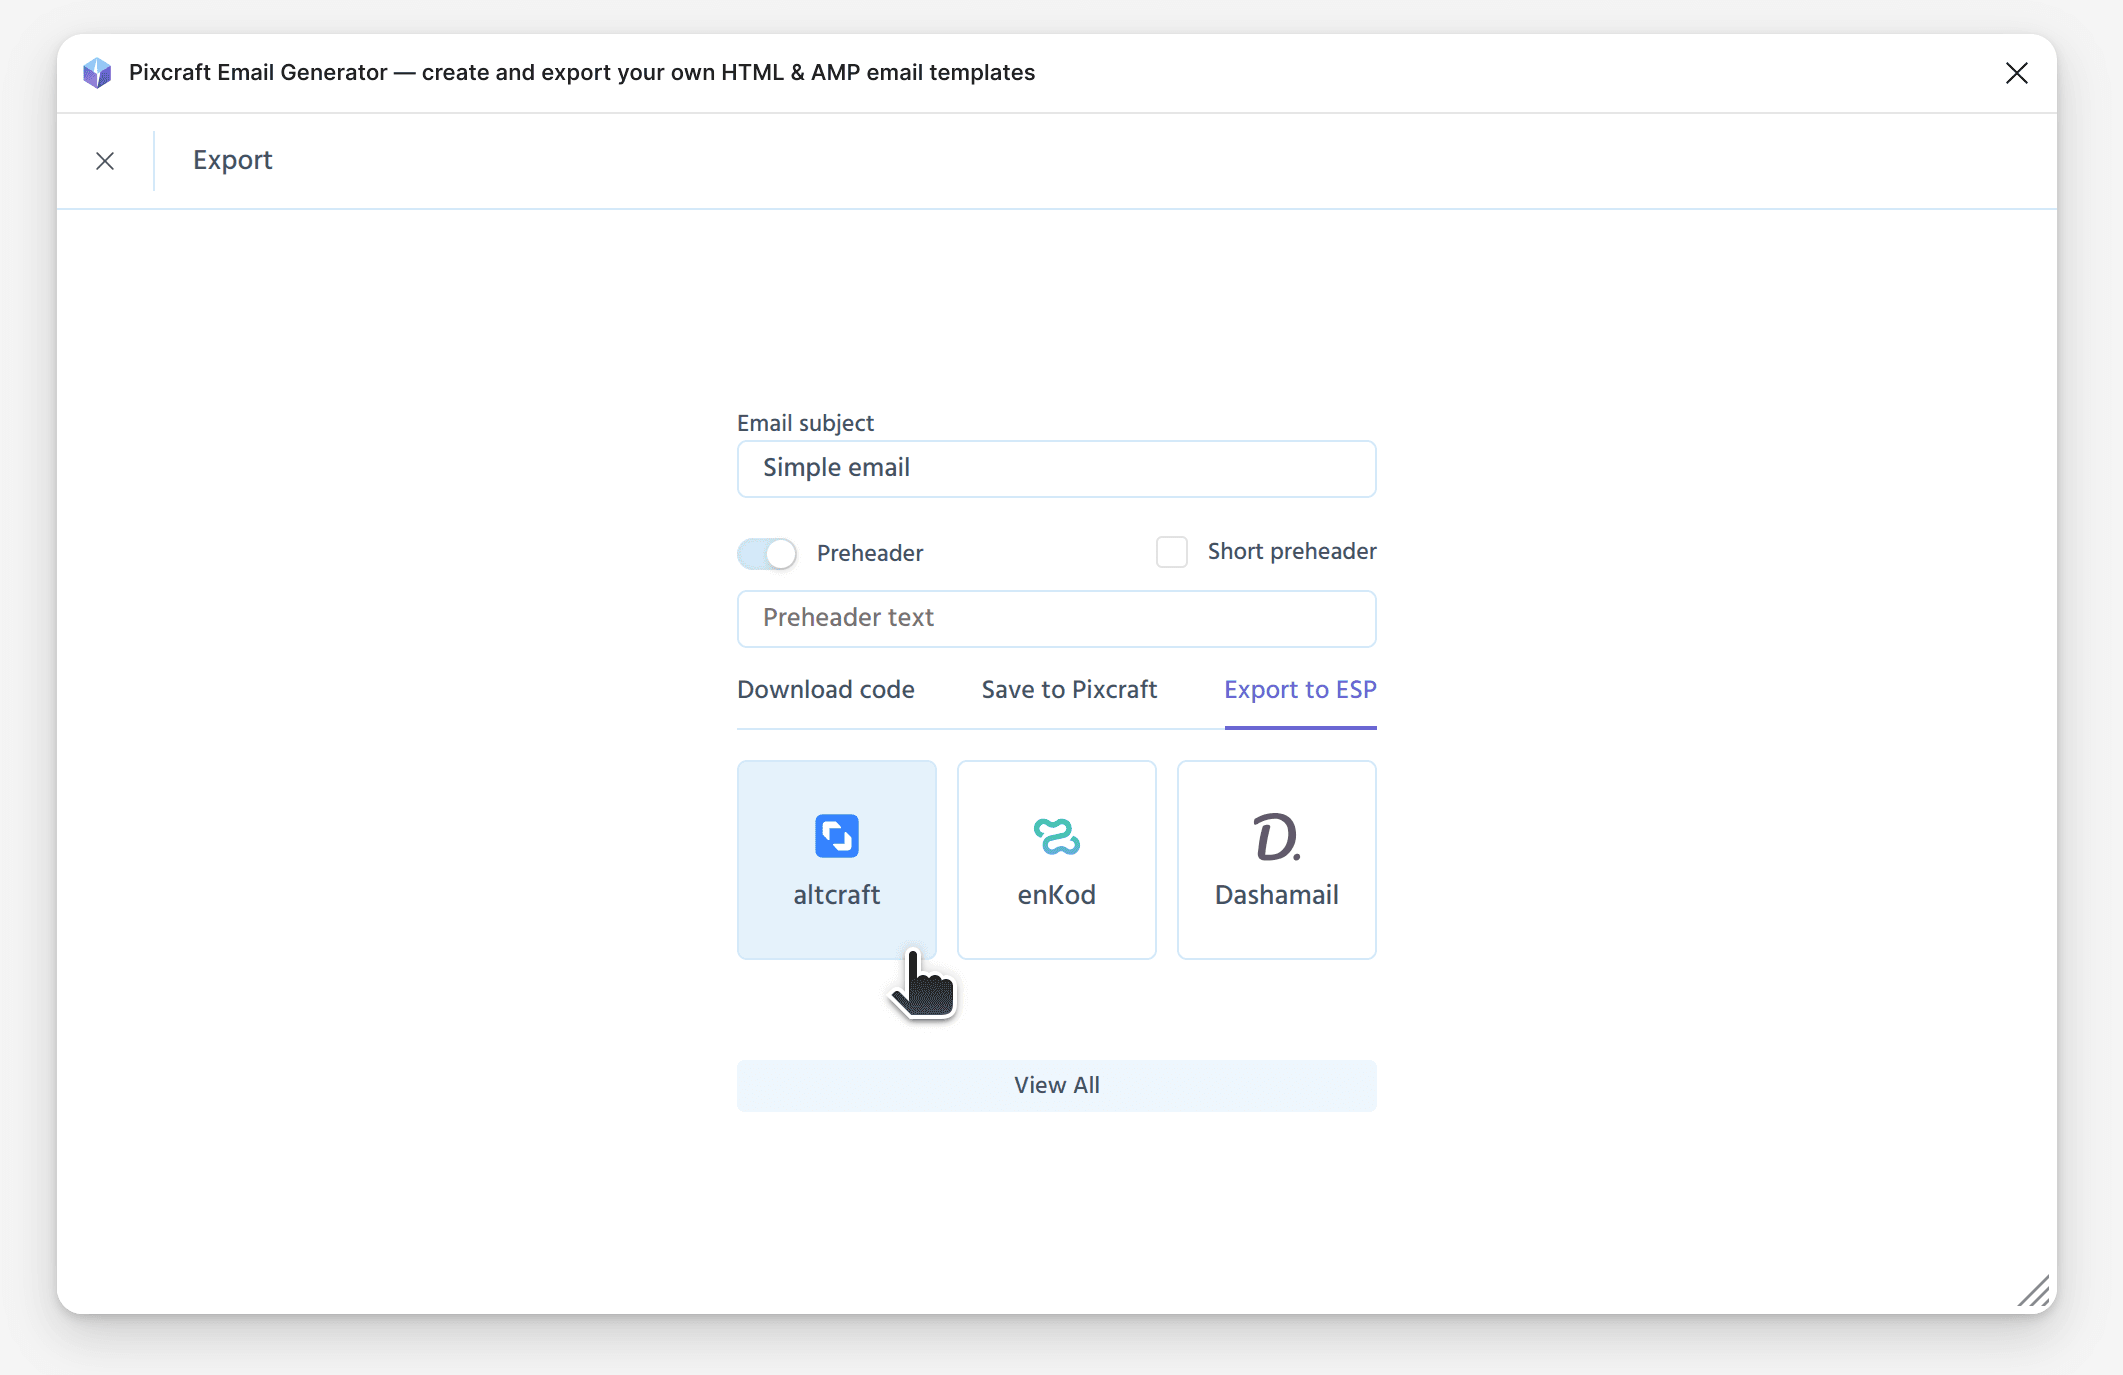 Exporting to other services
Customizing Your Template
You’ve created an email template, but how can you make it even better? Pixcraft provides extensive functionality for fine-tuning your template components.
Links for Buttons, Text, and Images
To add links to buttons or images, select the desired element and go to the Properties tab. In the Link address field, enter the URL of the target website:
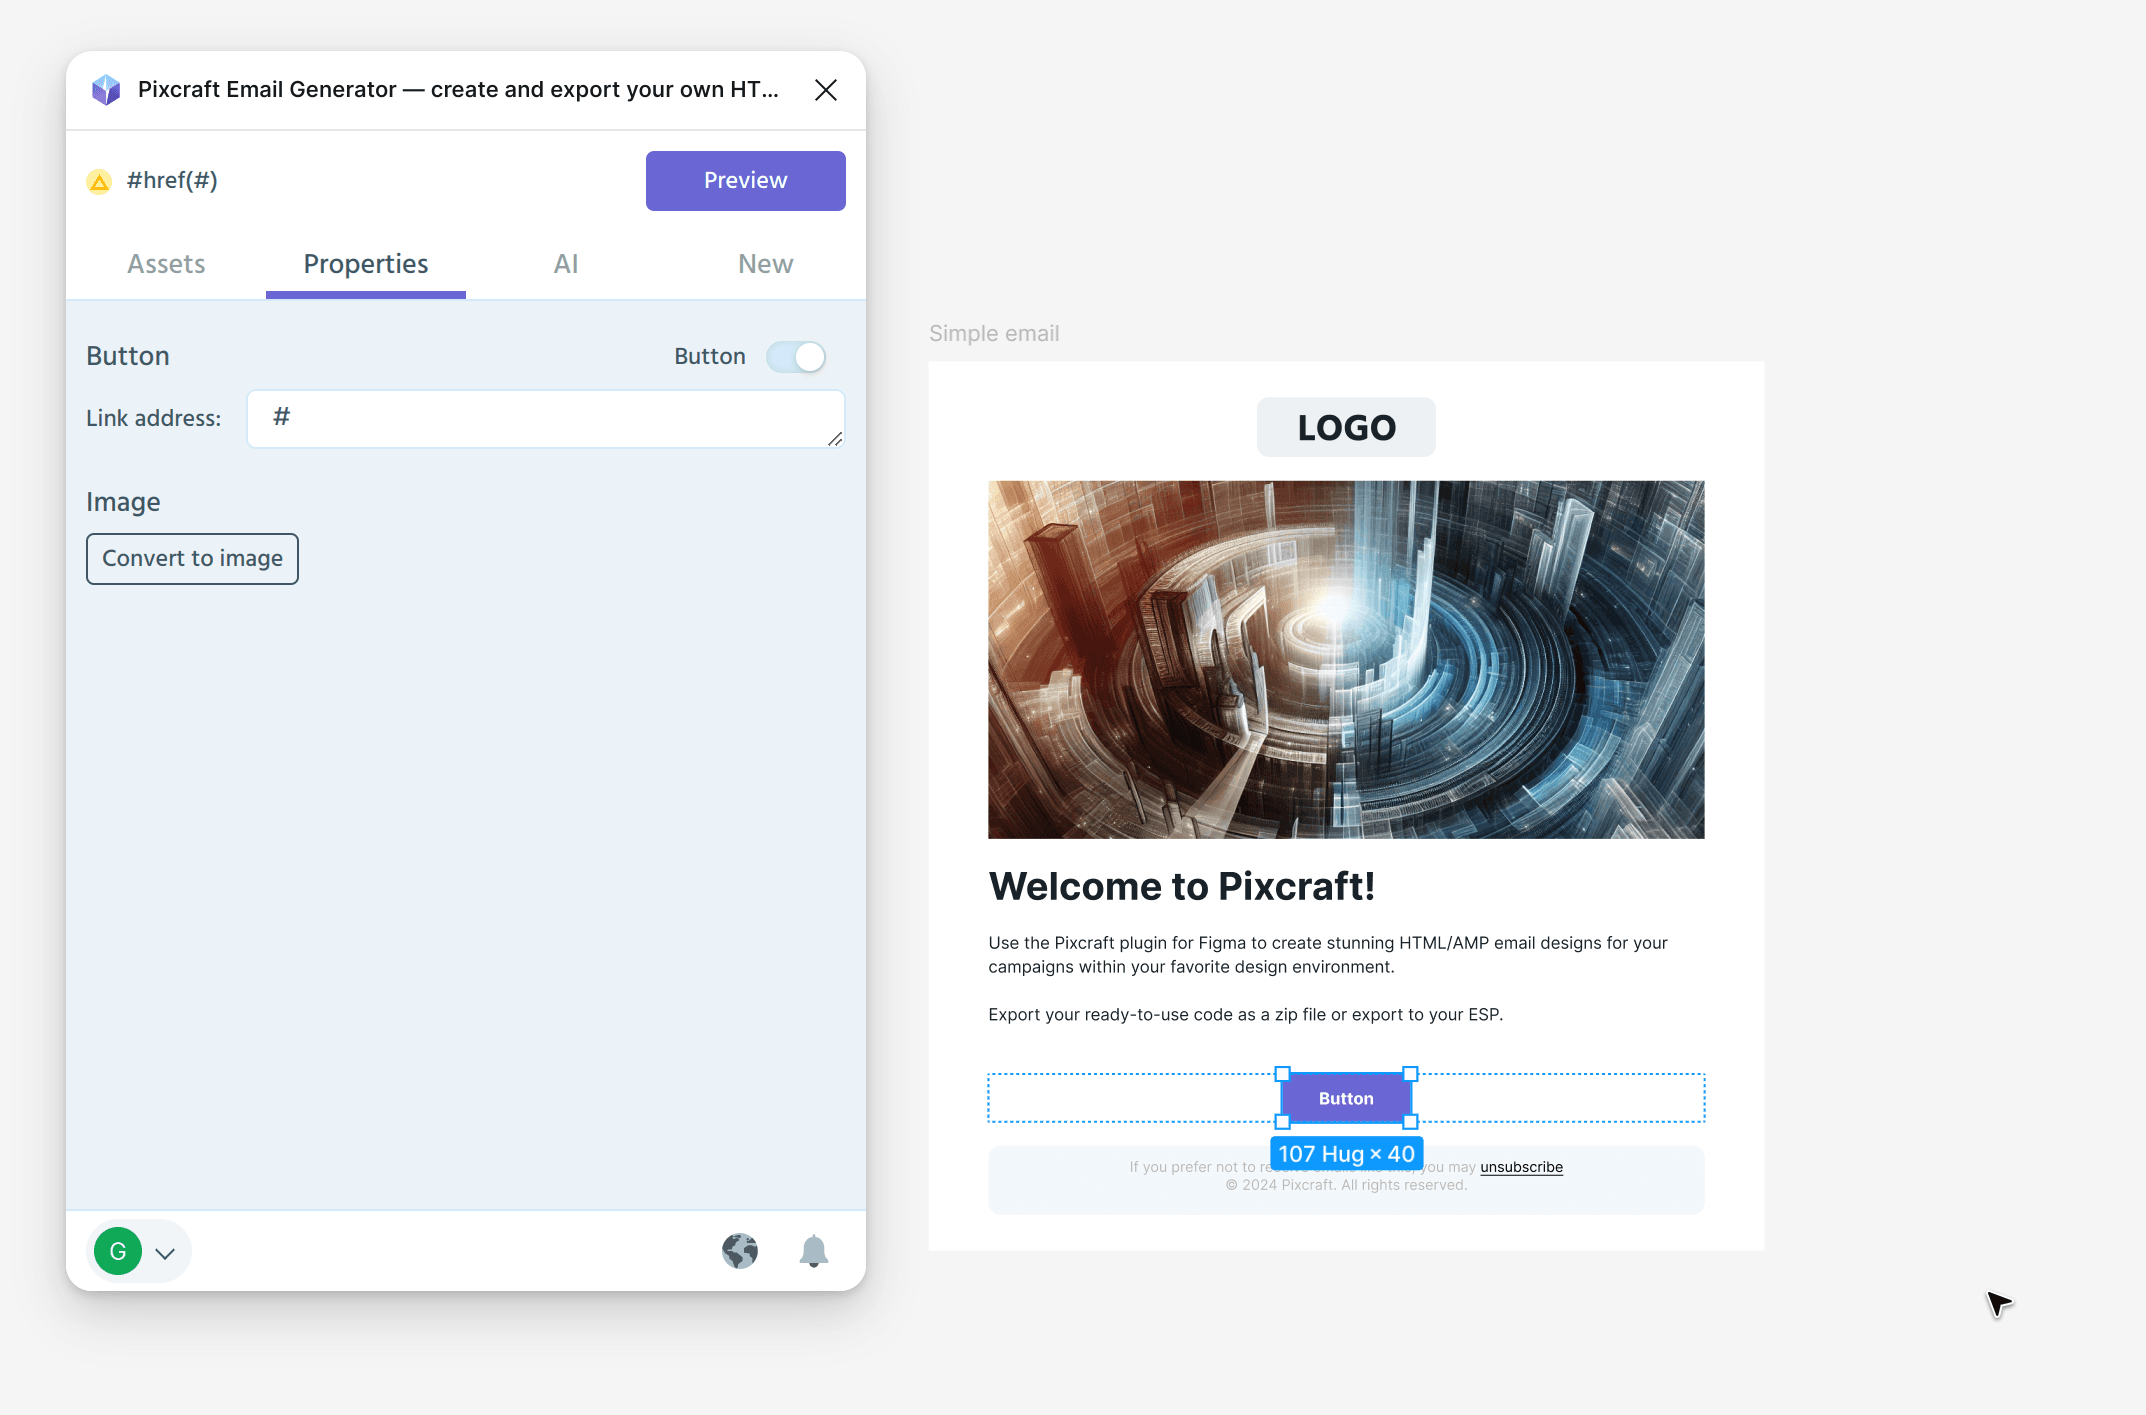 Adding URL
To add a hyperlink to text, highlight the text fragment and insert the link in the Properties menu. Alternatively, you can use the Create link feature in Figma:
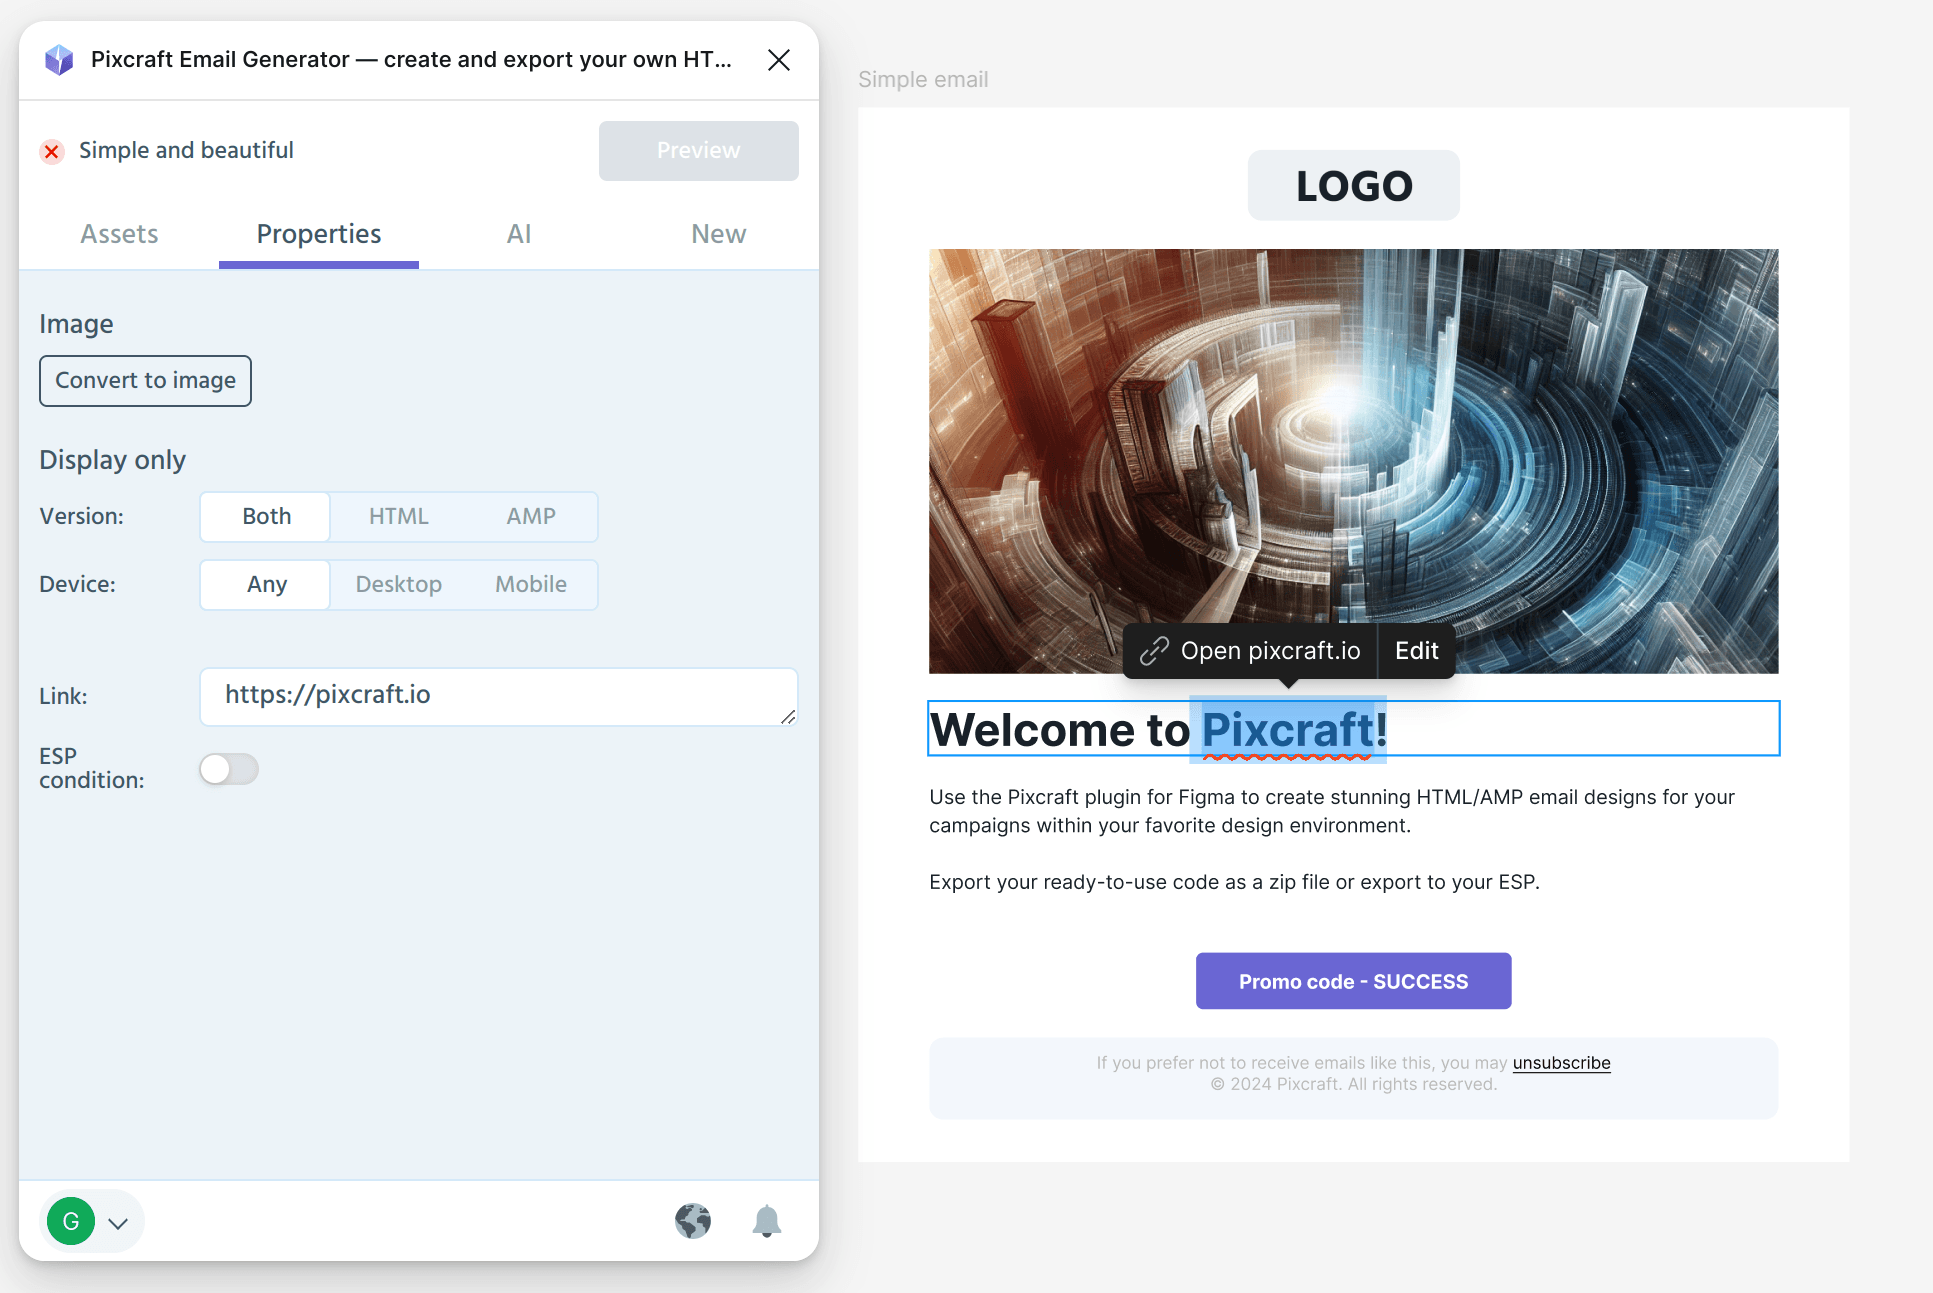 Creating a link
If you don’t want a specific template element (e.g., a promo code for copying) to be recognized as a button, you can toggle the corresponding switch in the same section:
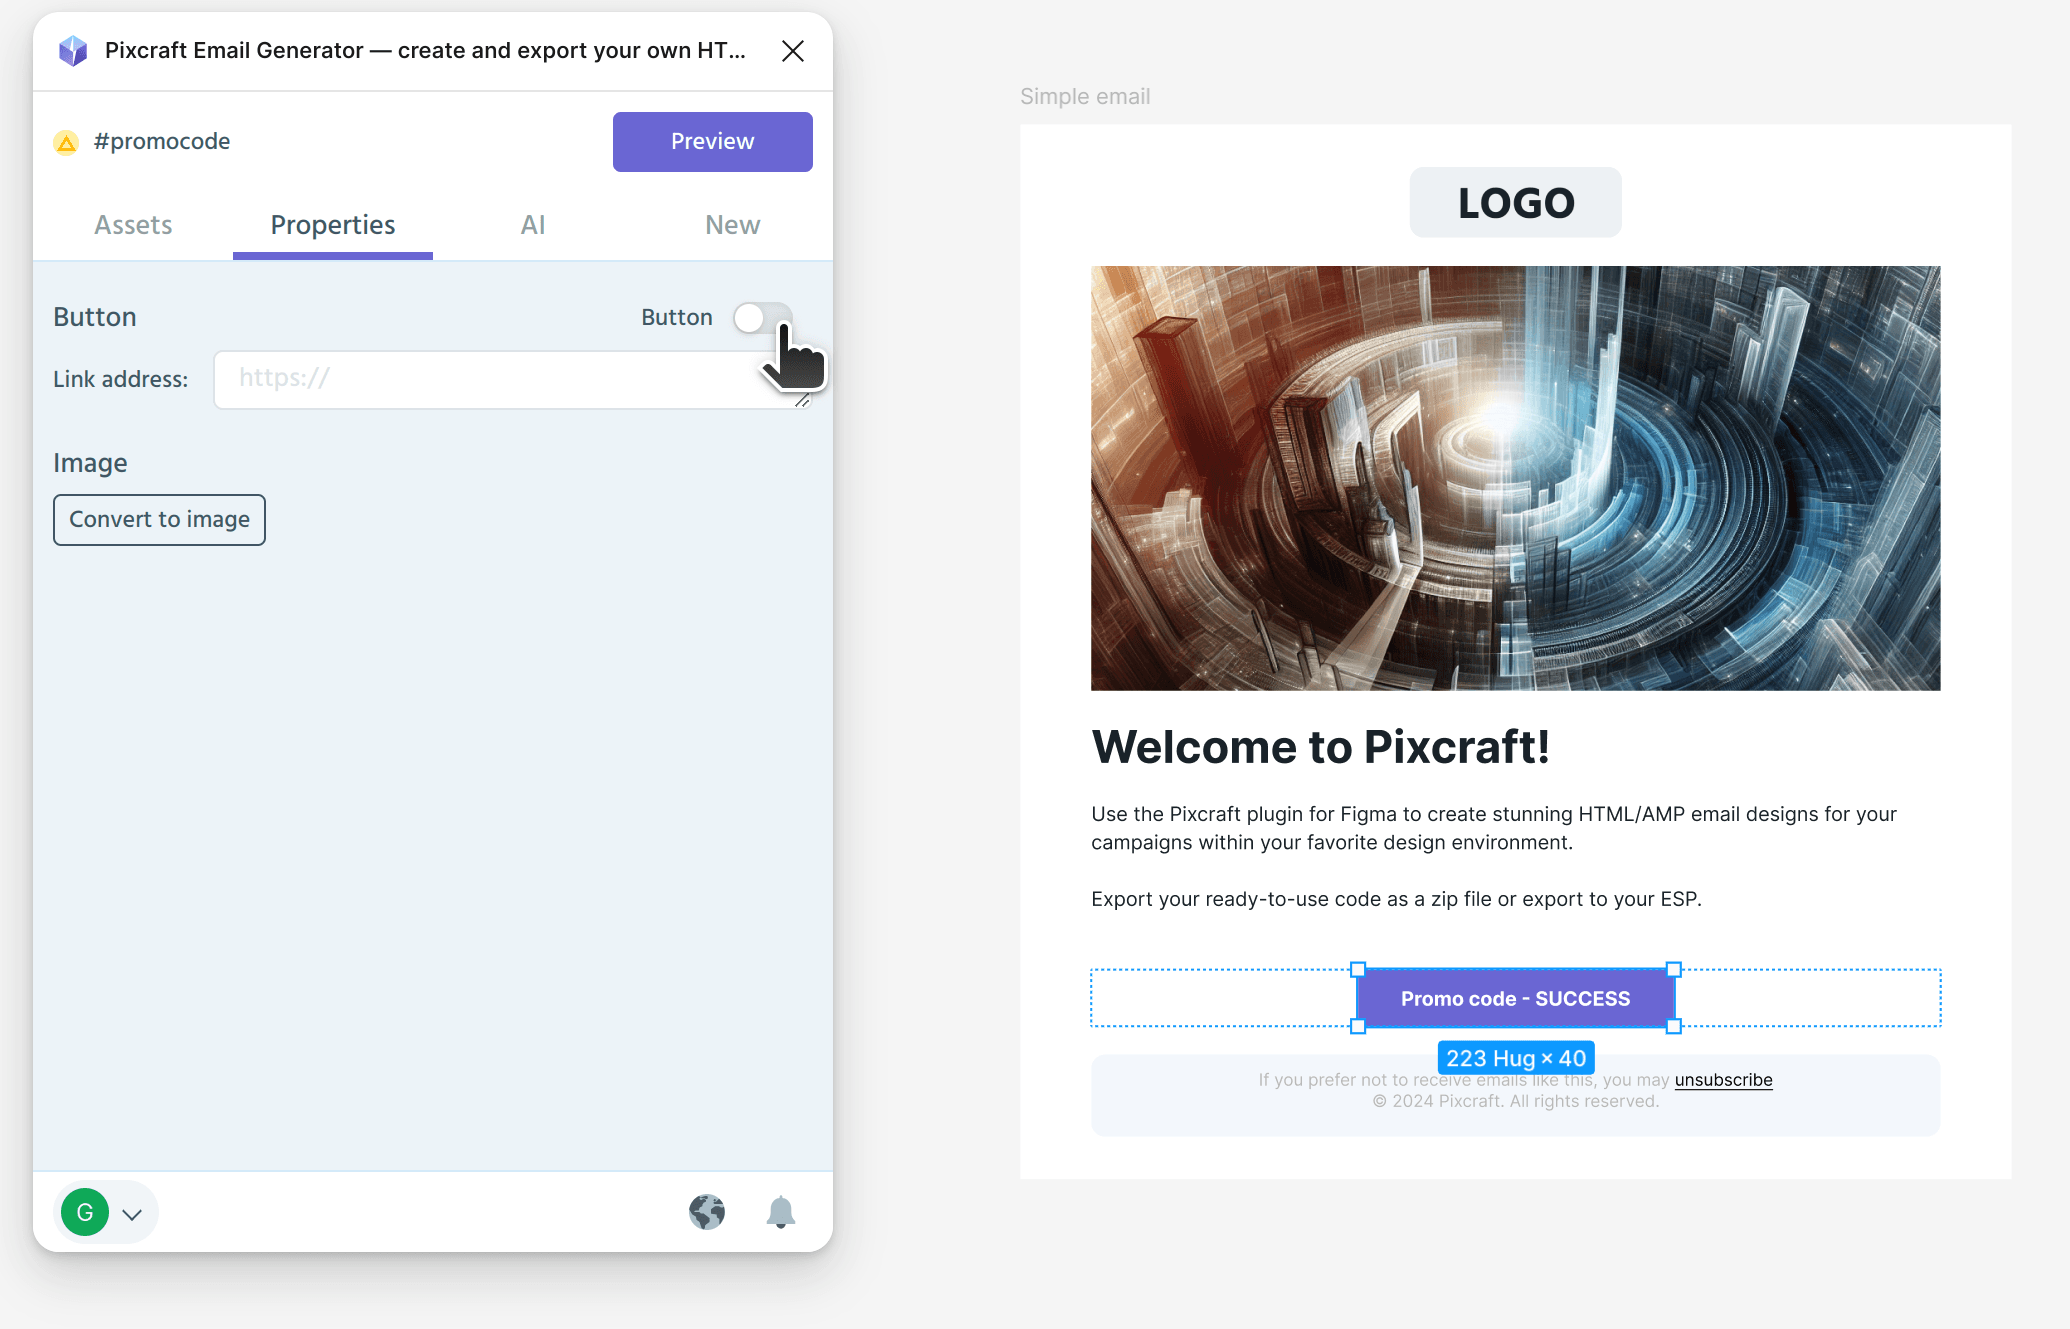 Button mode
Exporting Blocks as Images
The plugin allows you to export certain elements as images rather than code. To do this, select the object, go to the Properties tab, and click Convert to image. You can then add an image description and title to the converted block:
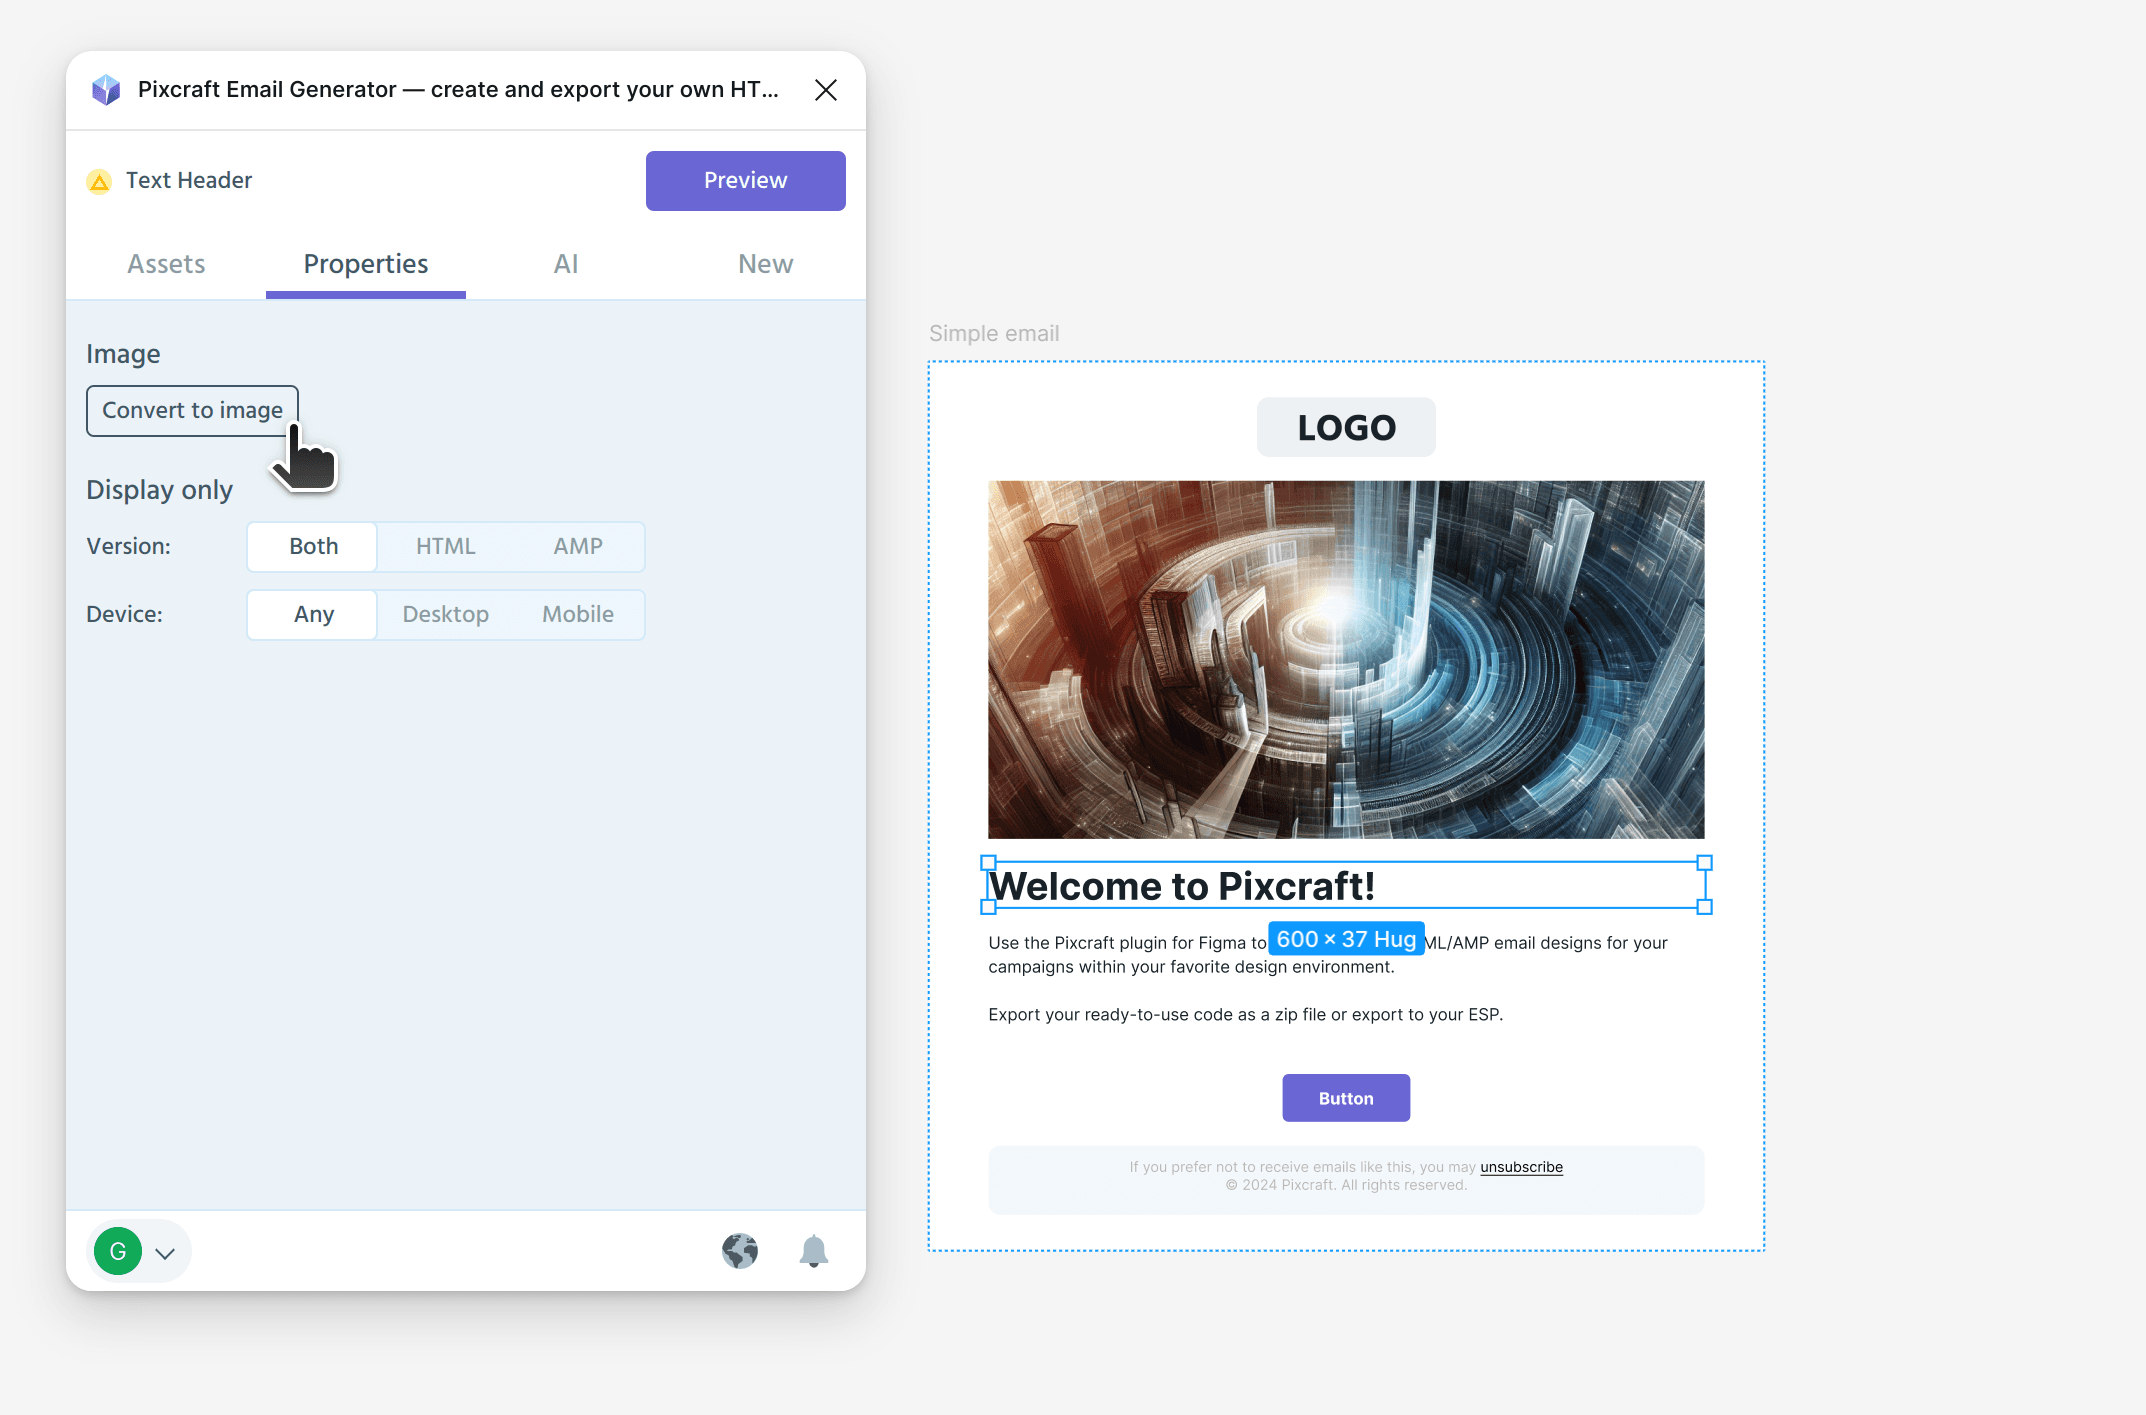 Converting a block to an image
You can achieve the same result using Figma’s standard functionality by grouping the block.
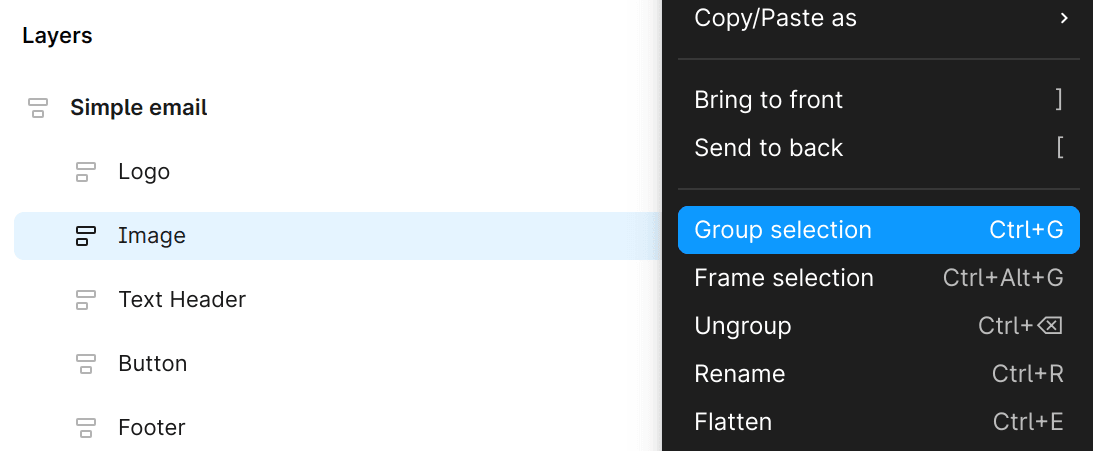 Grouping block elements
Managing Block Adaptation
Elements in the mobile version of an email don’t always display as intended. To prevent this, Pixcraft lets you customize the block order for the mobile version:
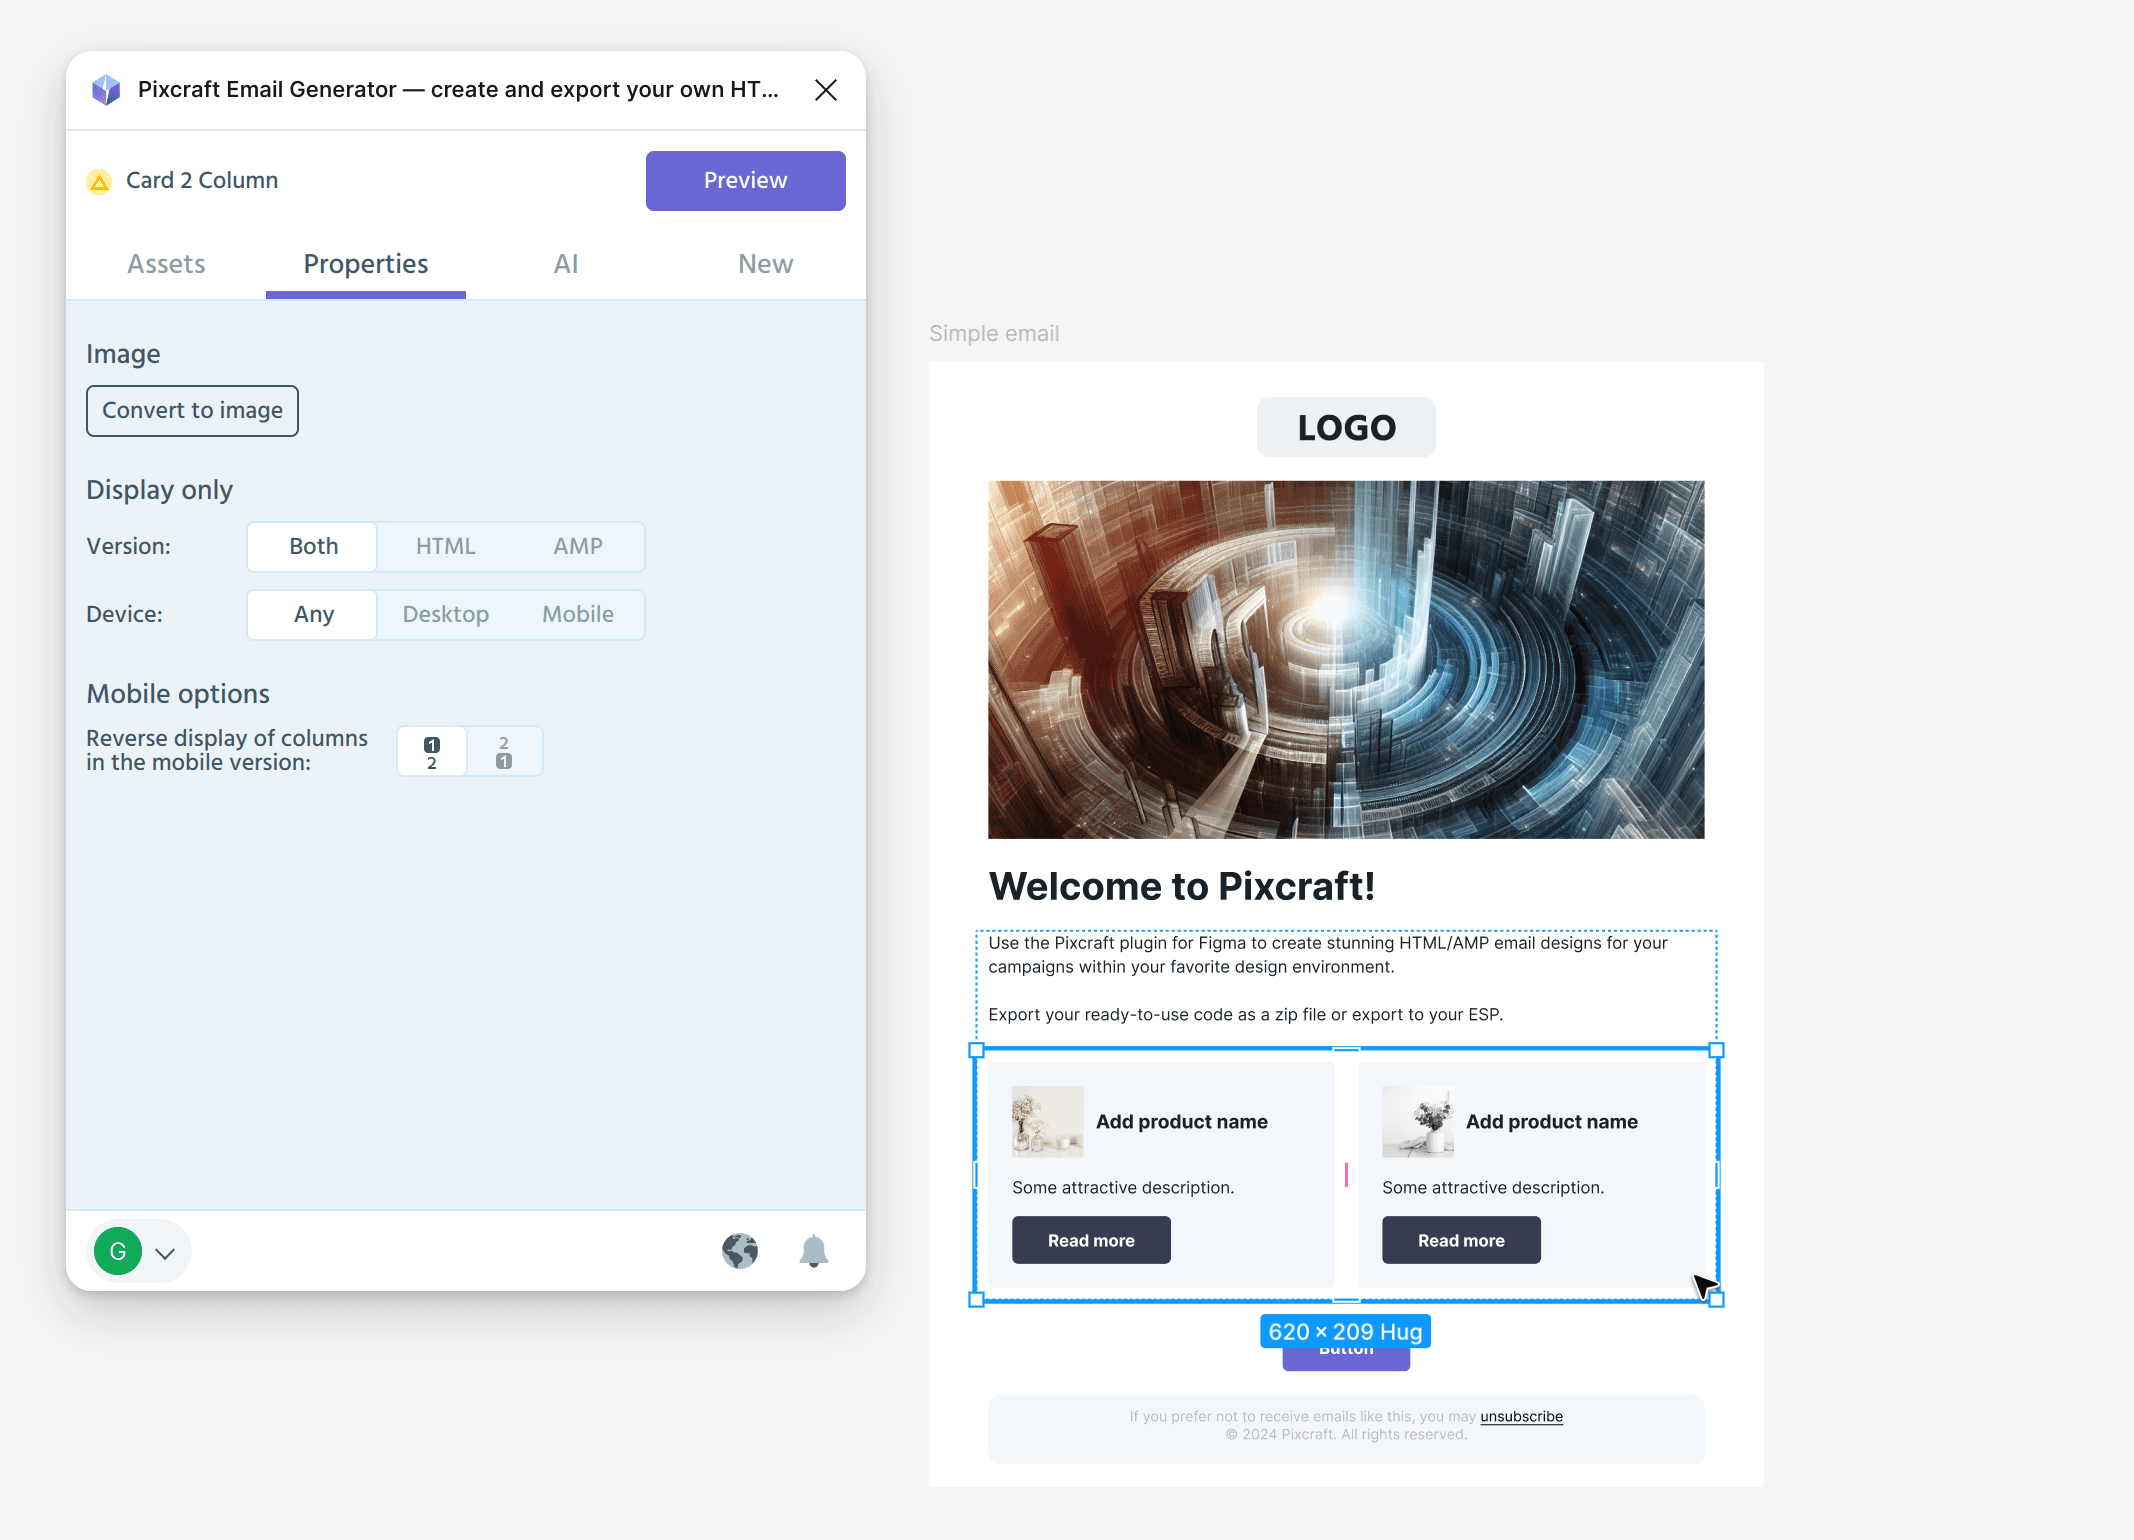 Configuring block order
You can see how these elements will appear using the plugin’s preview mode:
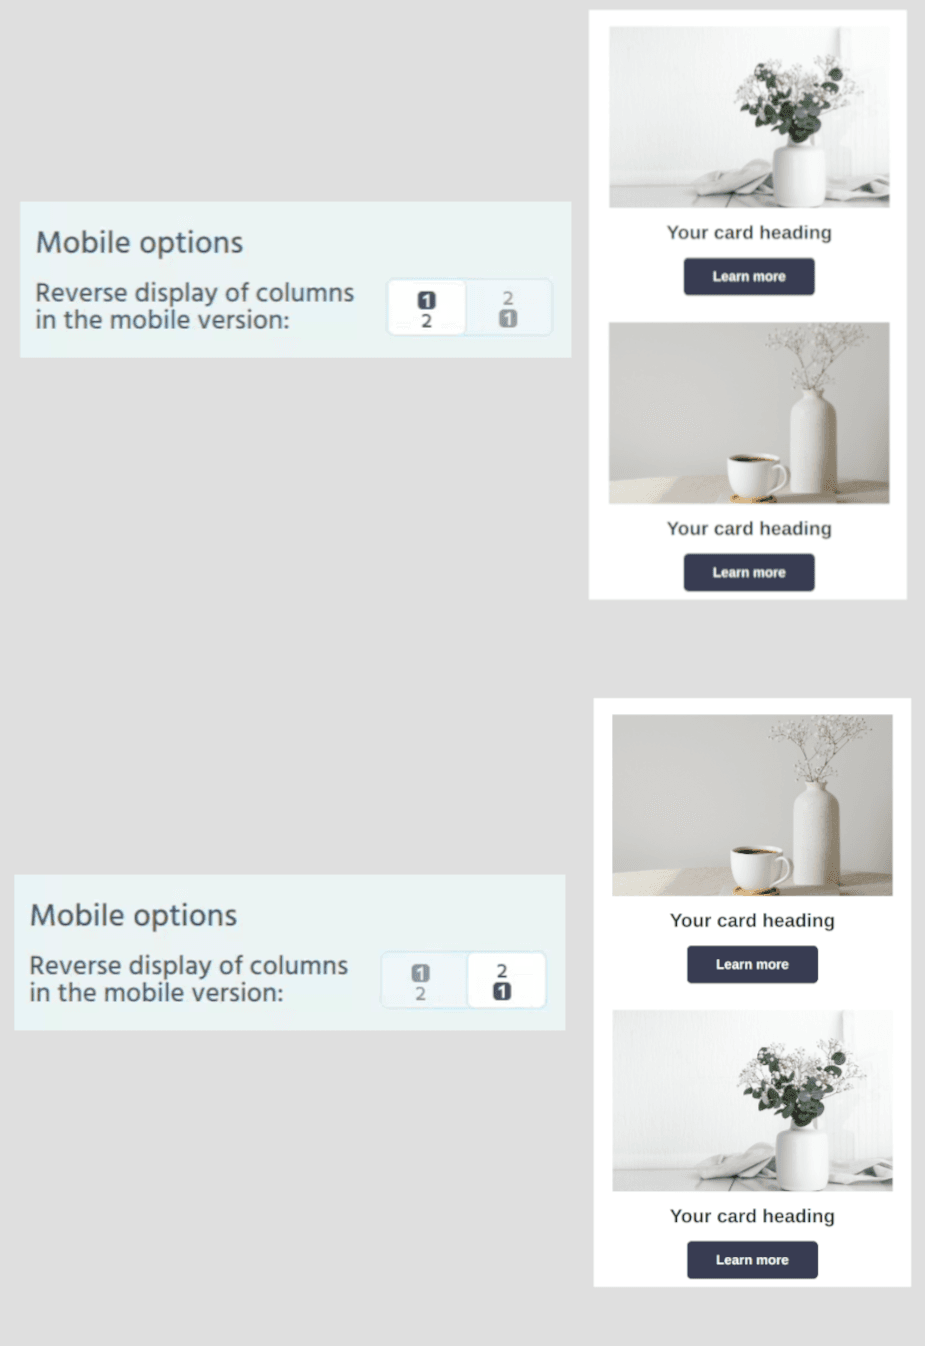 Block order in emails
You can also adjust the side padding and overall width of the email. To configure these parameters, select the main frame and choose the desired display mode:
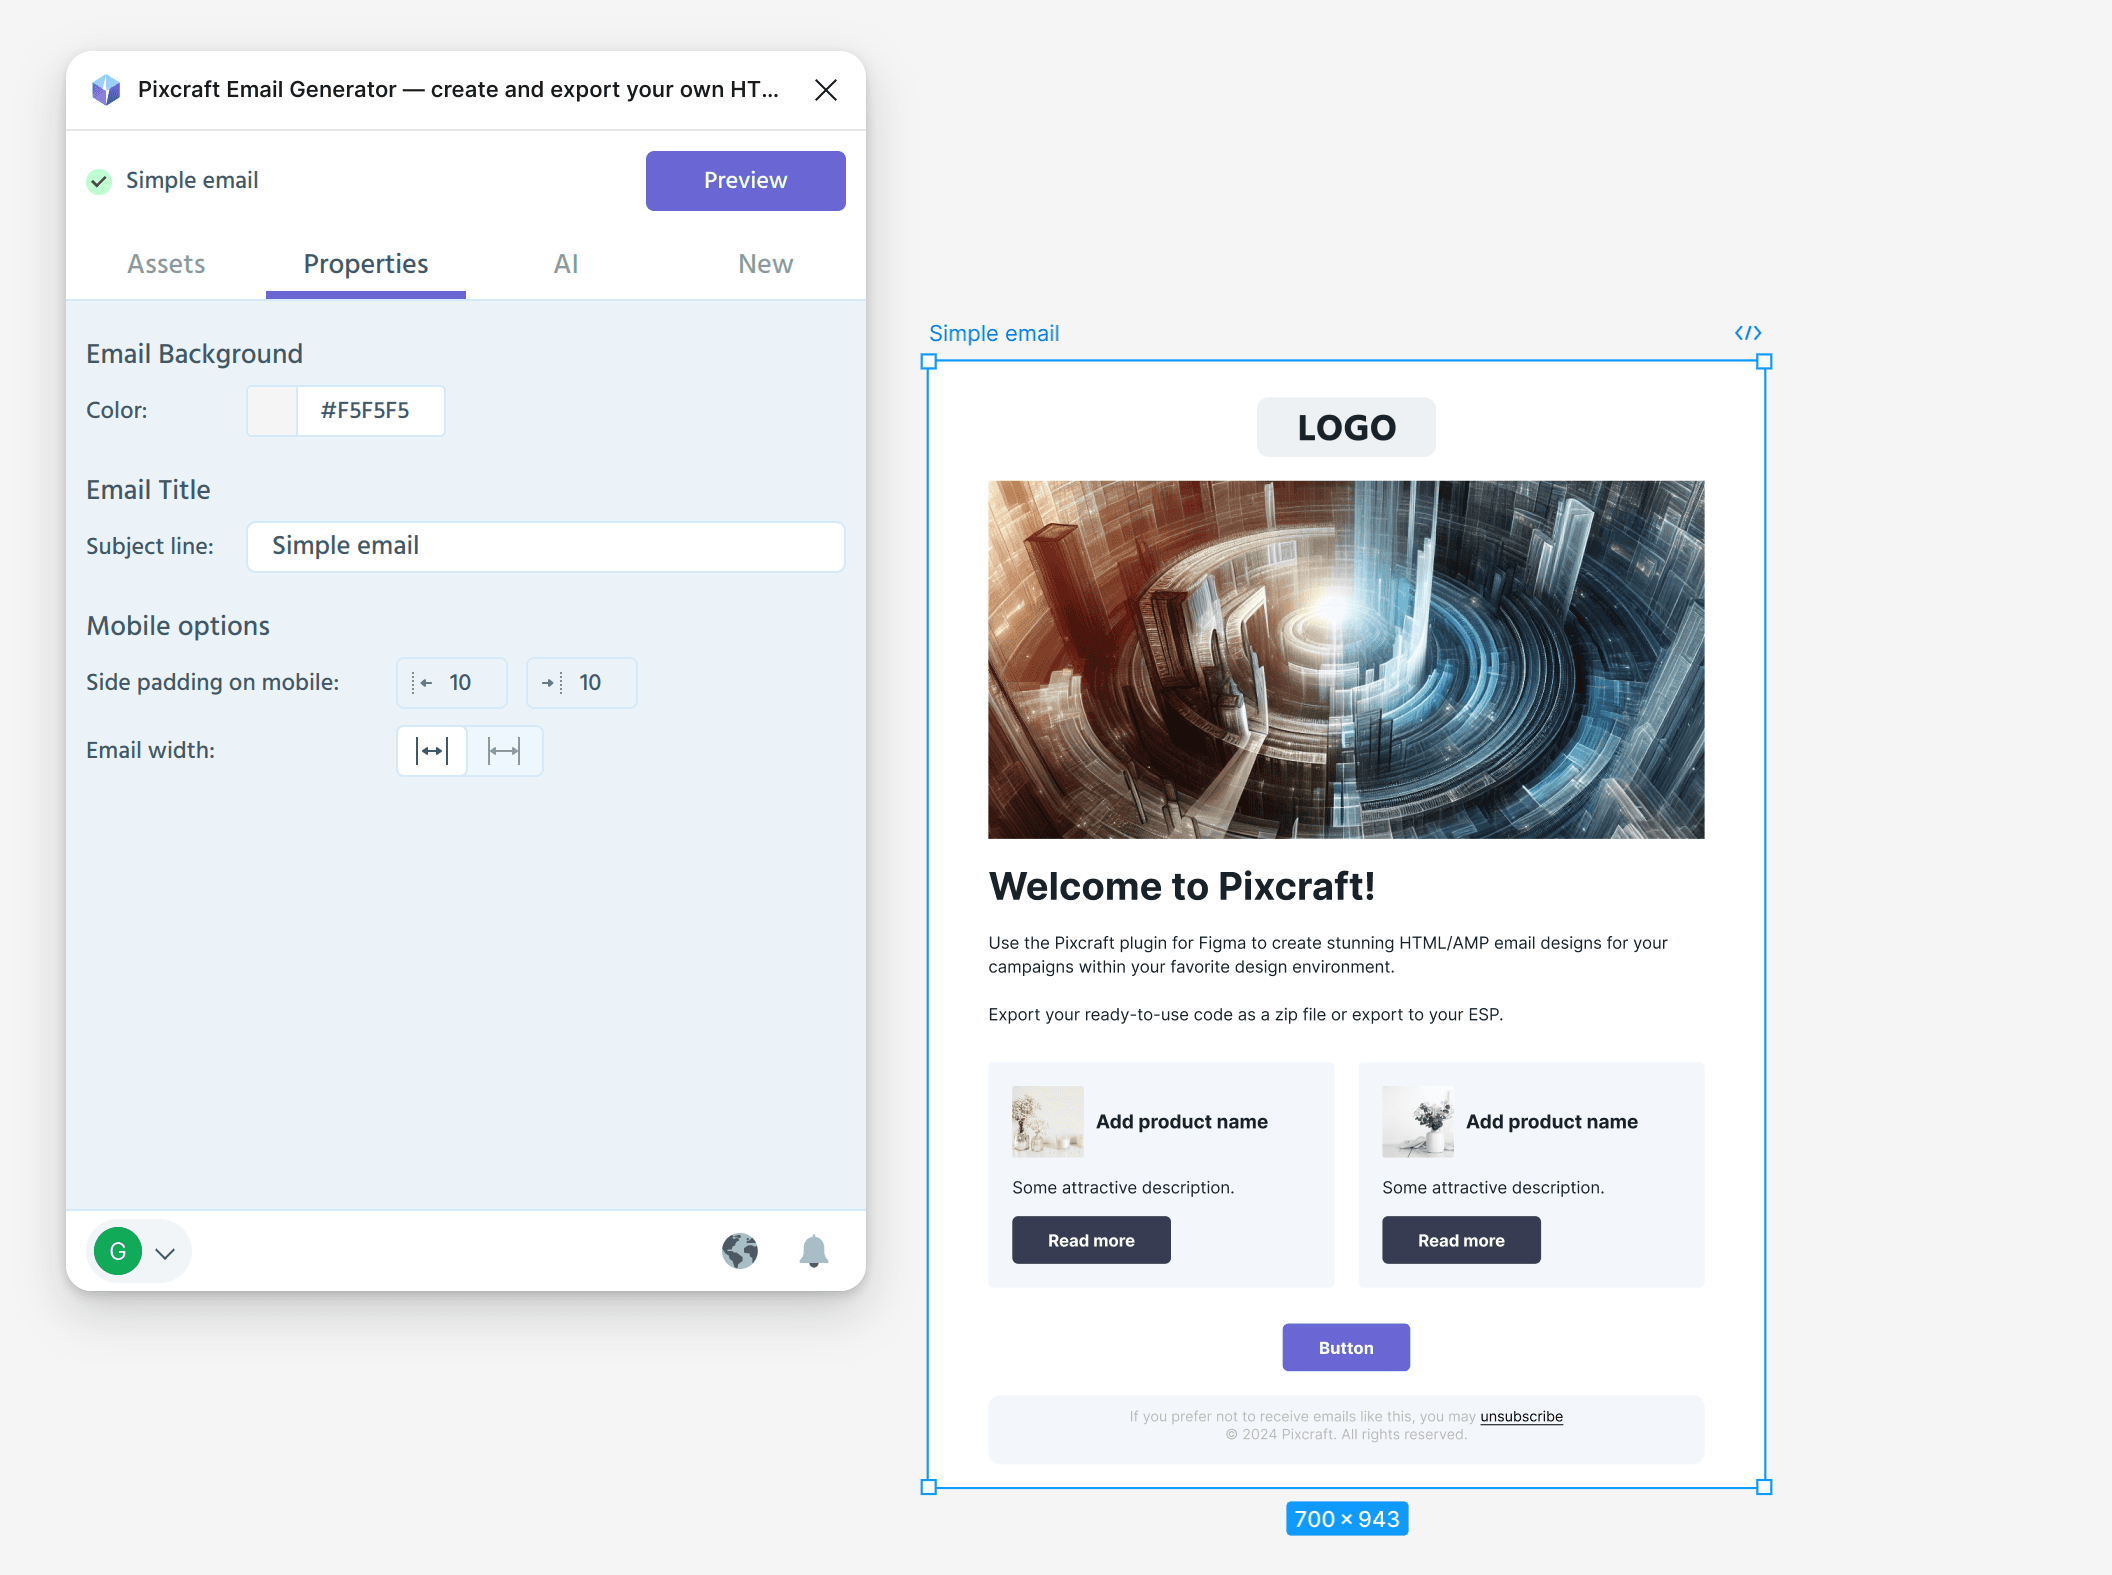 Adjusting padding and width
HTML and AMP Display
Not all email clients support AMP content; users of such clients will only see the HTML version of your email. To account for this, you can customize elements separately for each version.
For example, create AMP and HTML elements, such as a form for submissions and a footer with a support link. In the Properties section for the footer, specify it to display only in the HTML version:
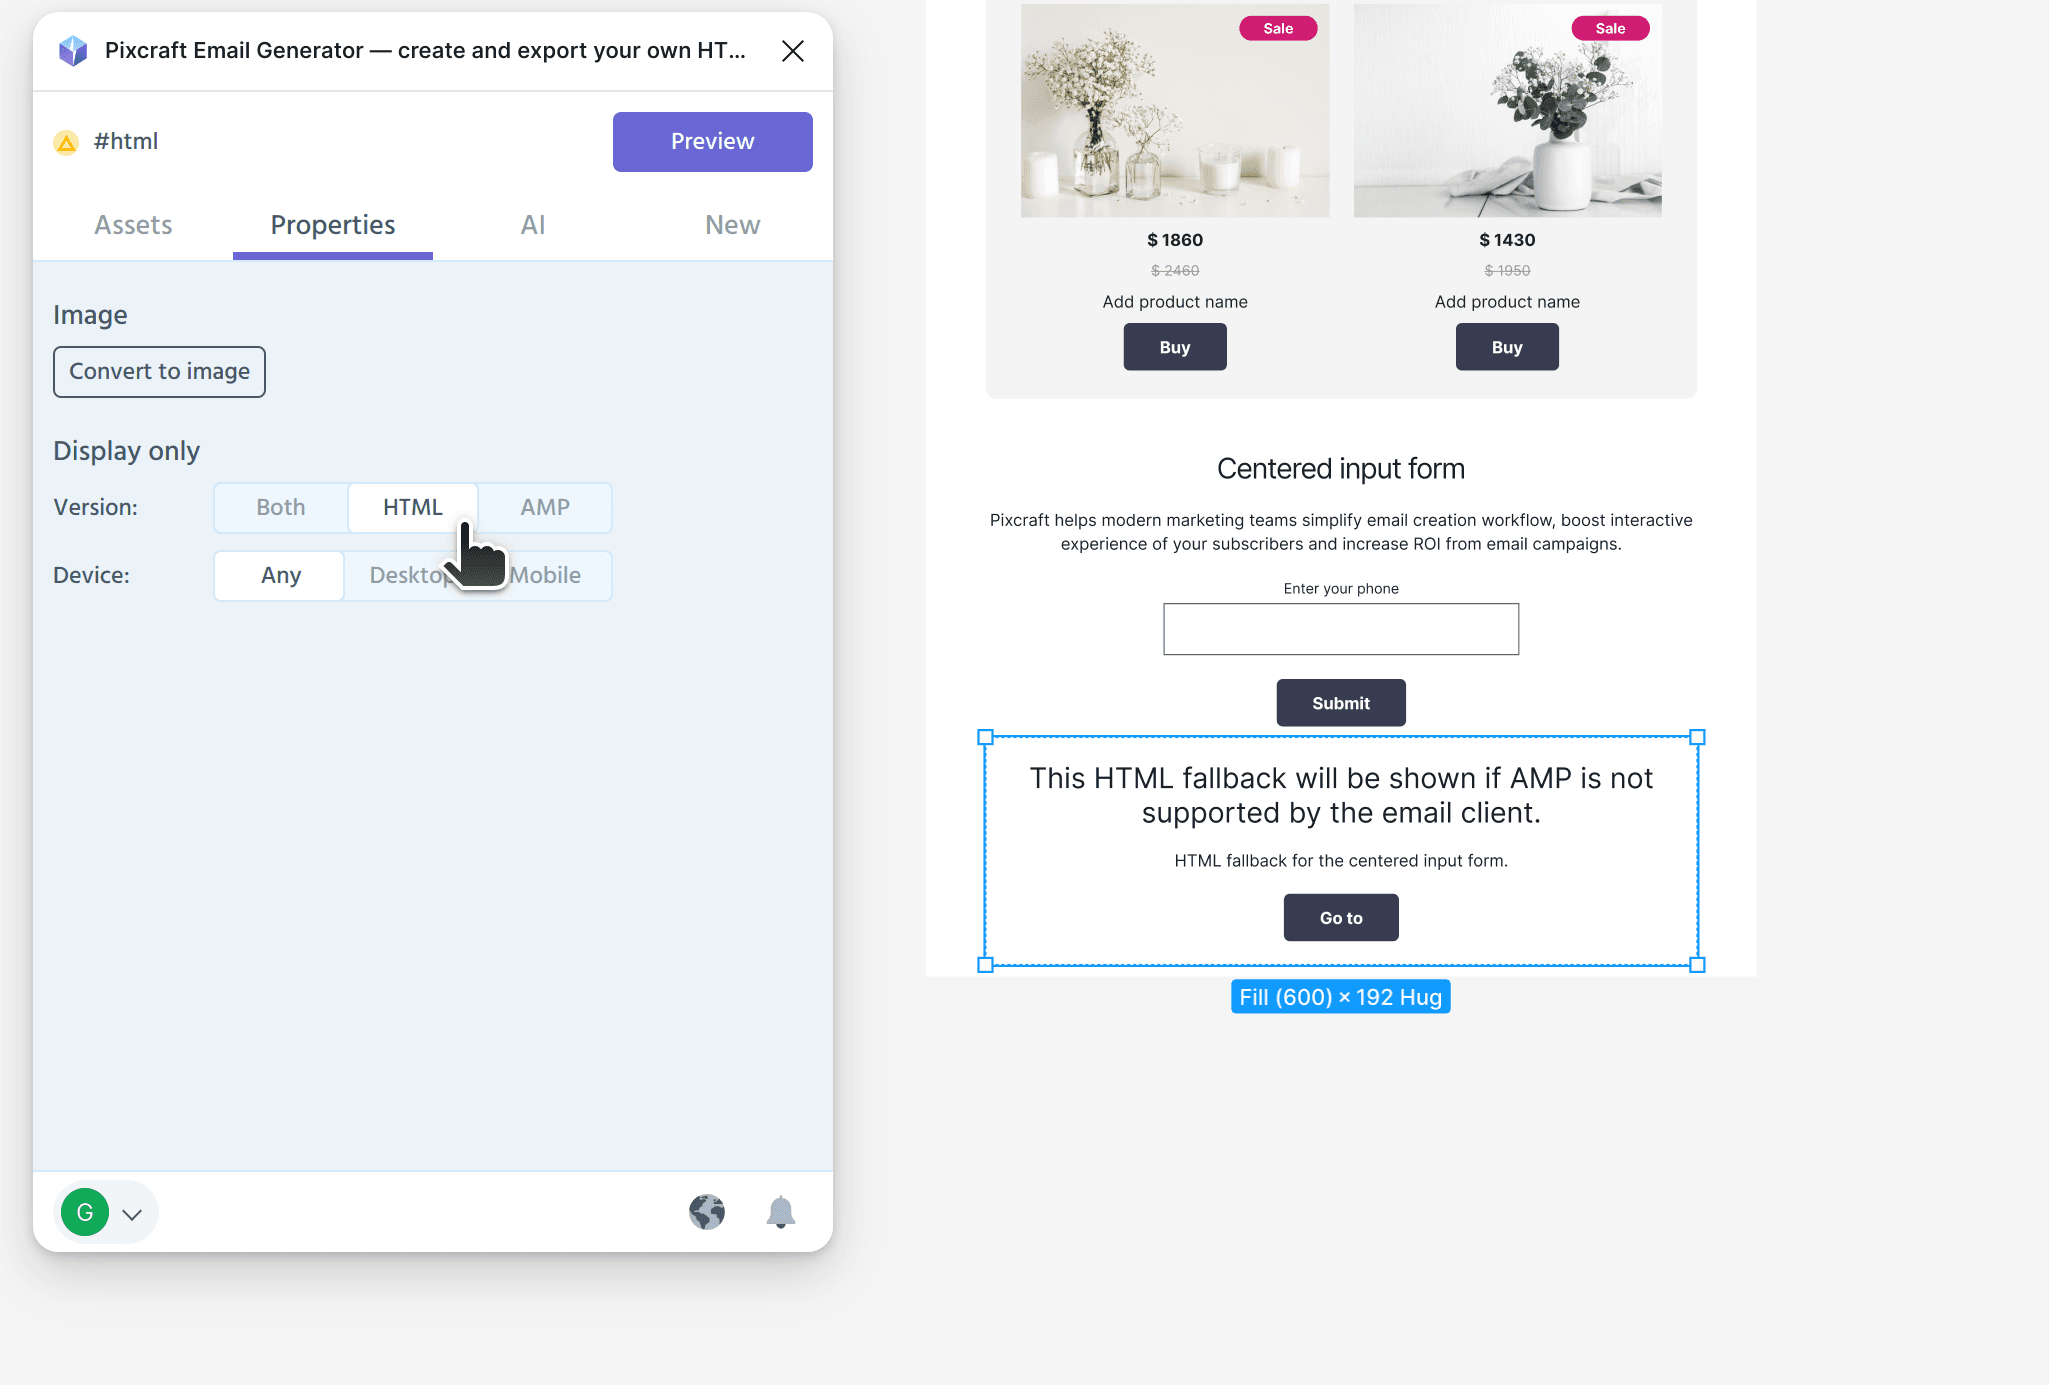 Customizing content display
This ensures that if the AMP form does not appear for any reason, the user will still see a footer with contact details for support.
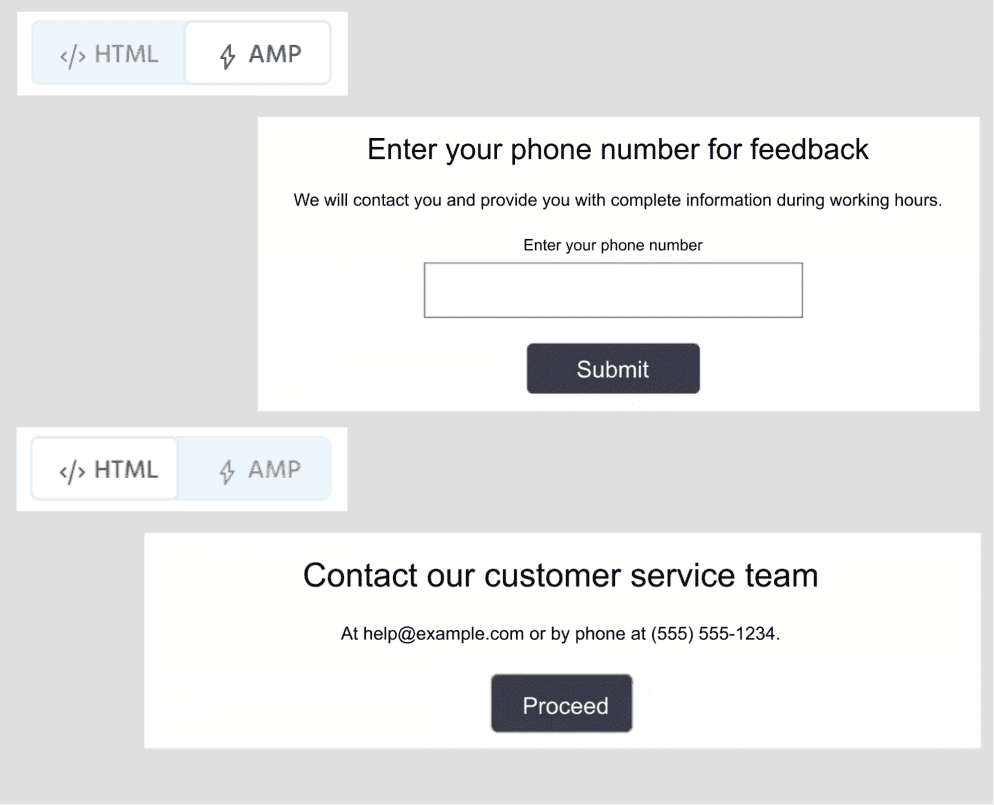 AMP and HTML content
AI Assistance
If you prefer not to write engaging text yourself or rely on standard stock photos, you can use AI assistance. To access this feature, you need to sign in to Pixcraft and log into your account in the plugin. The AI assistant is available for both images and text fields in the AI tab:
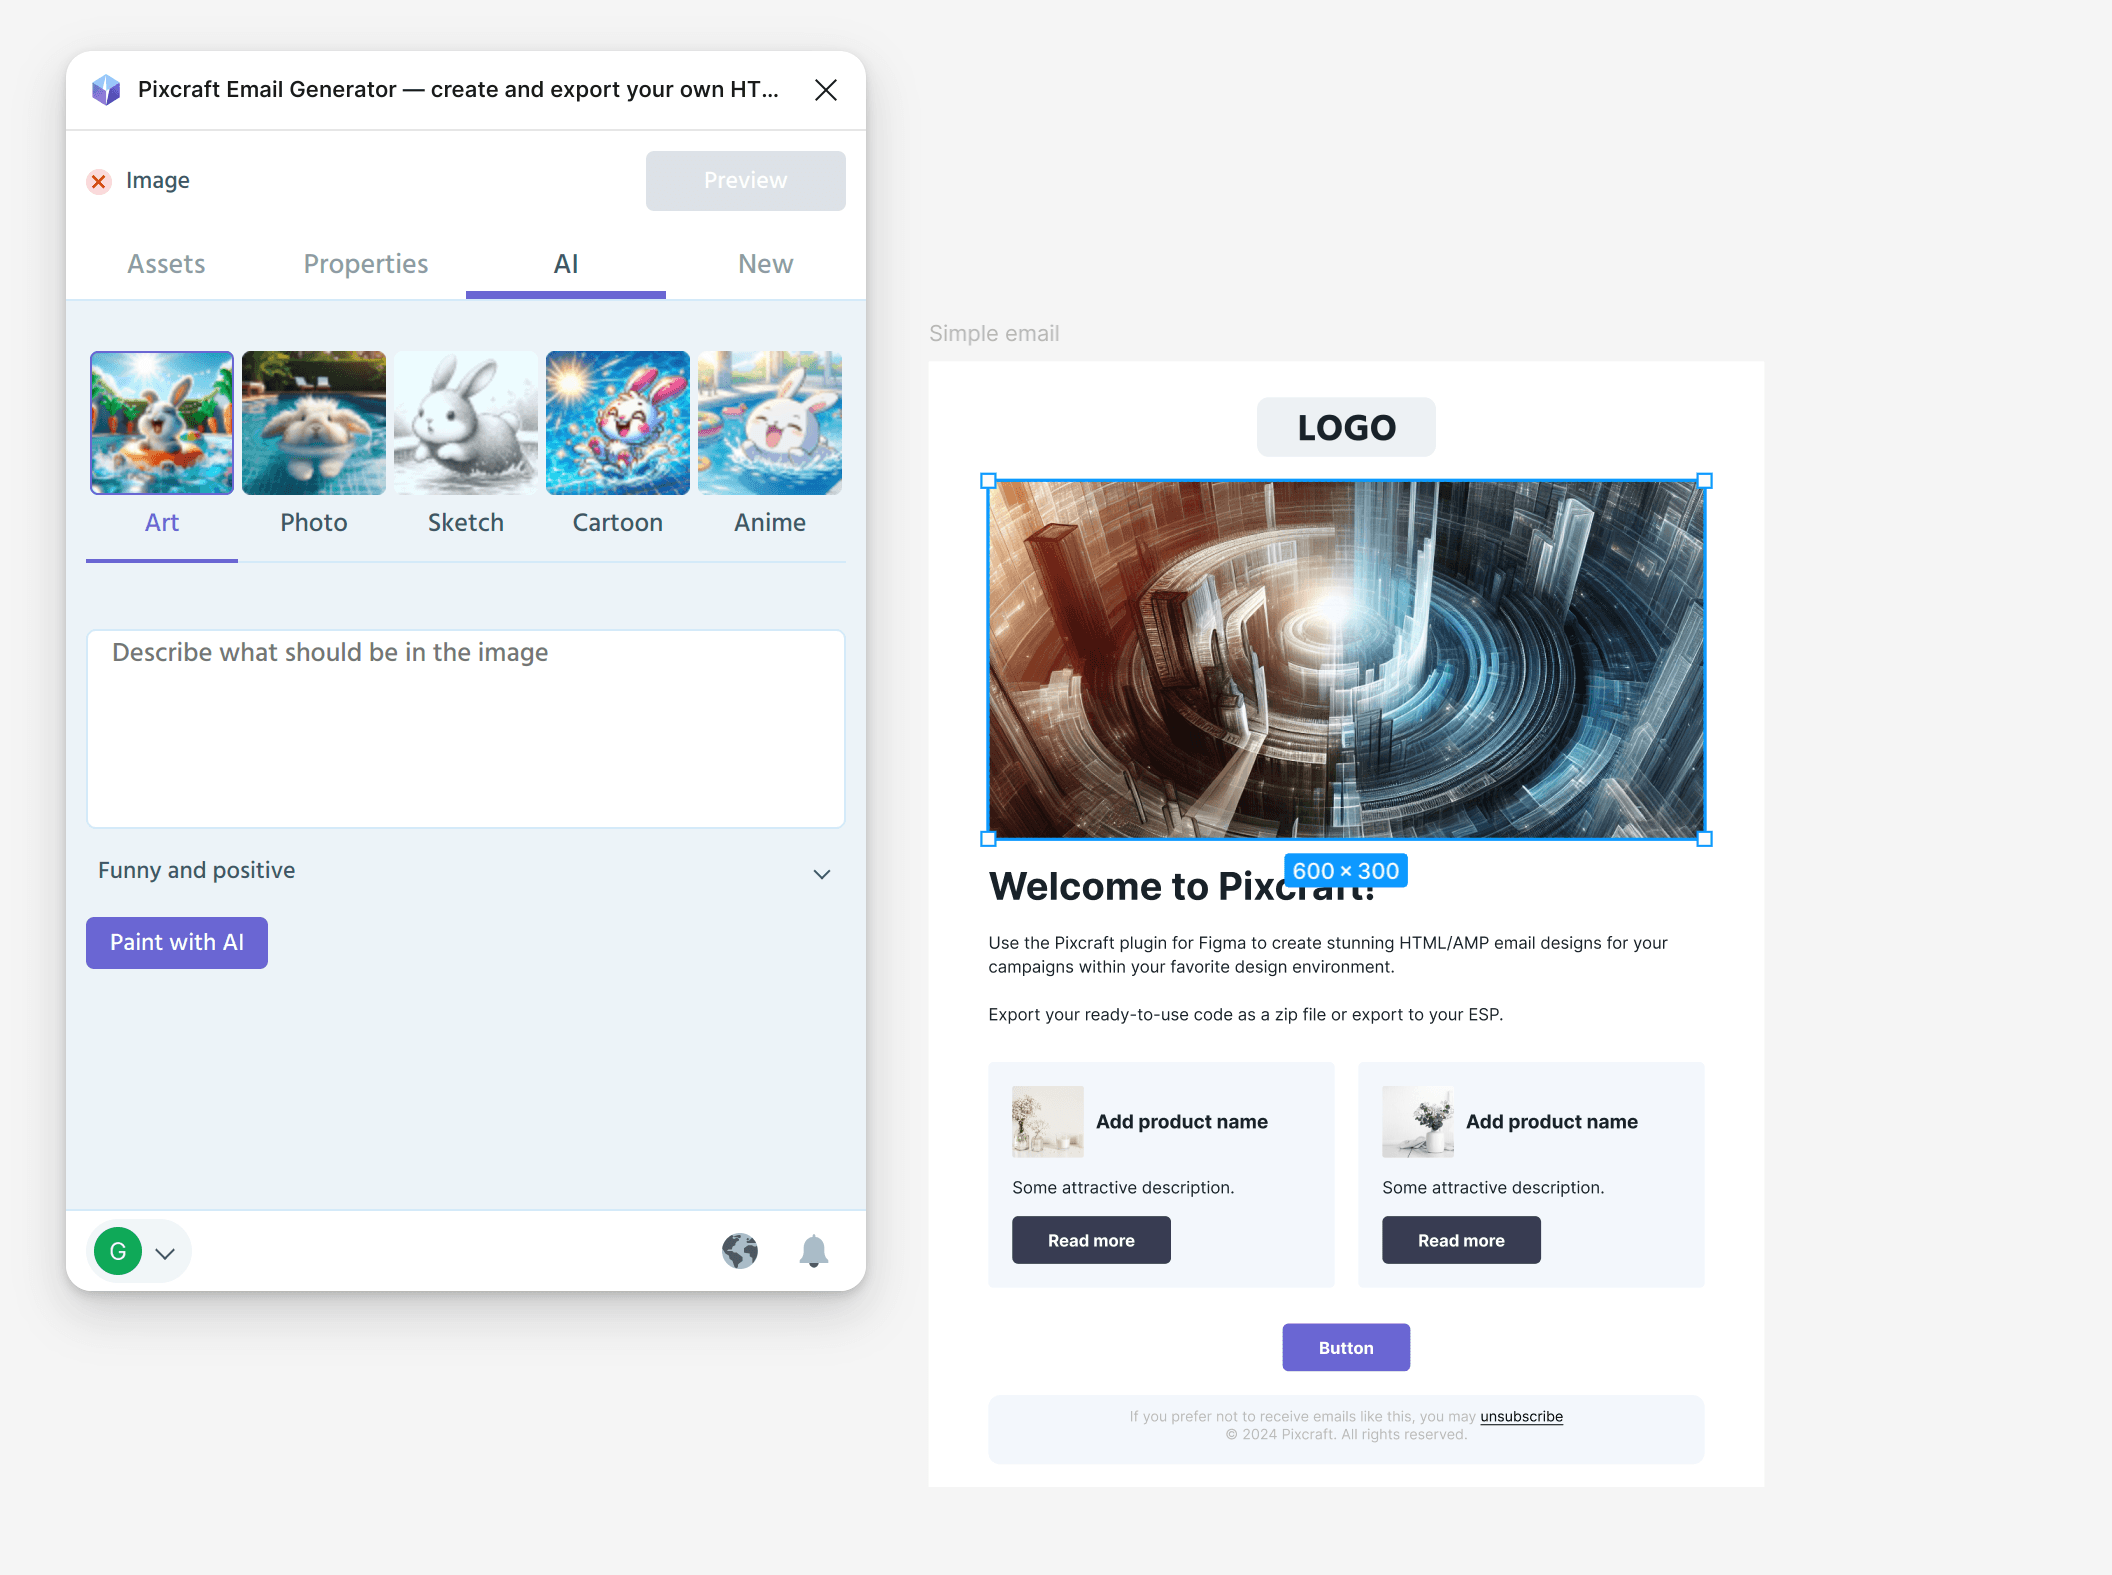 Using AI
Simply pick the style and, if needed, add a description of the image. The AI can refine your suggestions, generate text based on your ideas, and check for errors:
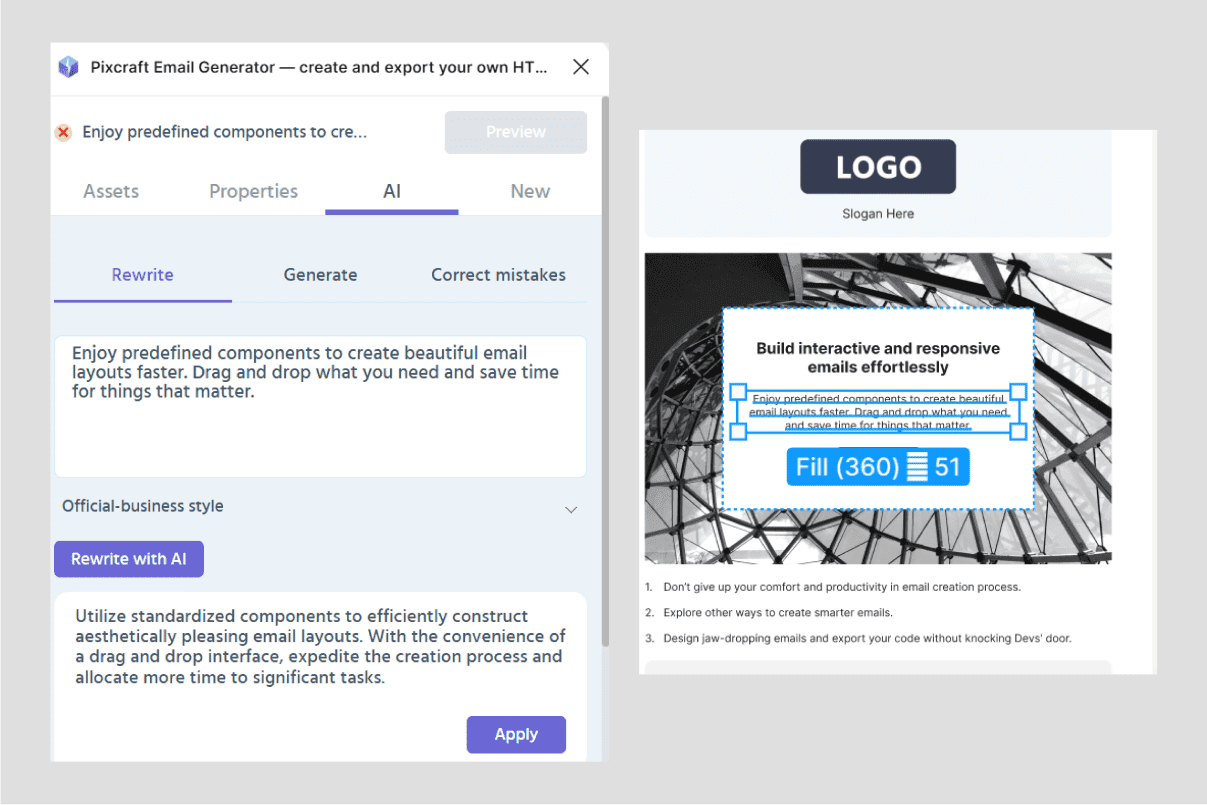 Text generation
Conclusion
The Pixcraft plugin is designed for users unfamiliar with HTML coding or email creation. It enables the creation of convenient emails that display correctly across most email clients. With Pixcraft, marketers can save significant time and effort typically spent on designing email templates.
Learn more about the plugin’s features, create a Pixcraft account, or contact support on the Pixcraft Email Generator page in the Figma Community.
